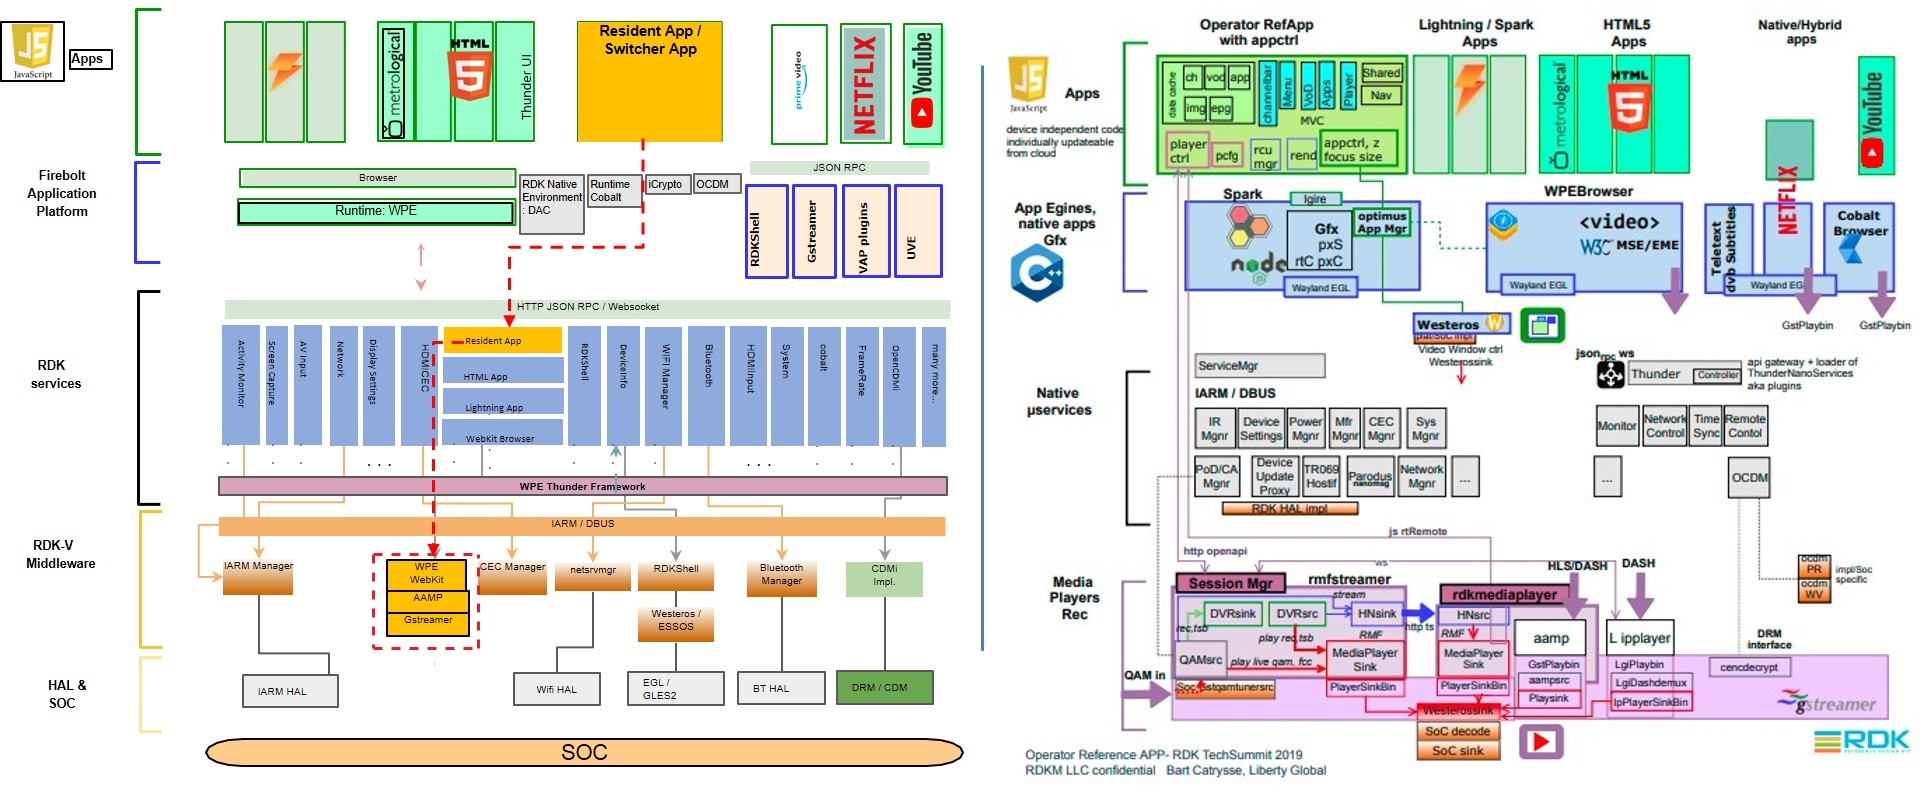
Before you follow the steps below, make sure you have installed all the required prerequisites in your dev PC - Node.js , npm, Lightning-CLI
$ npm install -g @lightningjs/cli
reference image for Lightning-CLI install
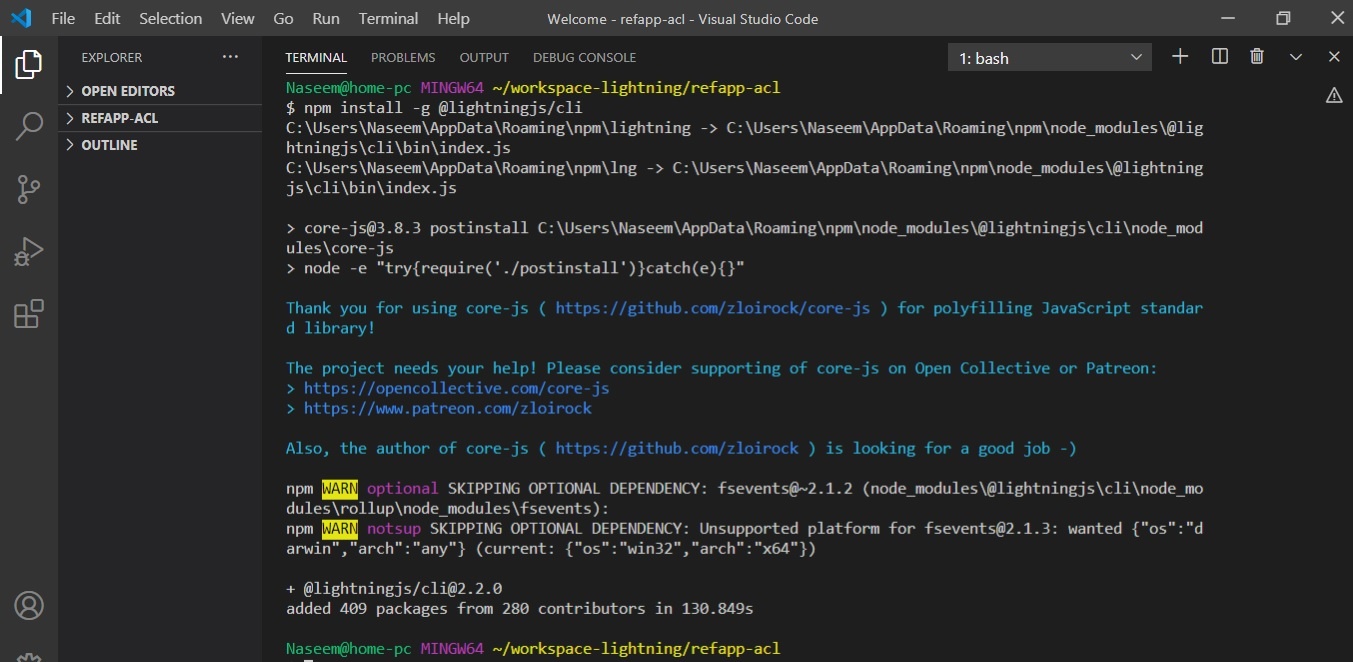
refer below screenshots for reference

reference images for build instructions-1
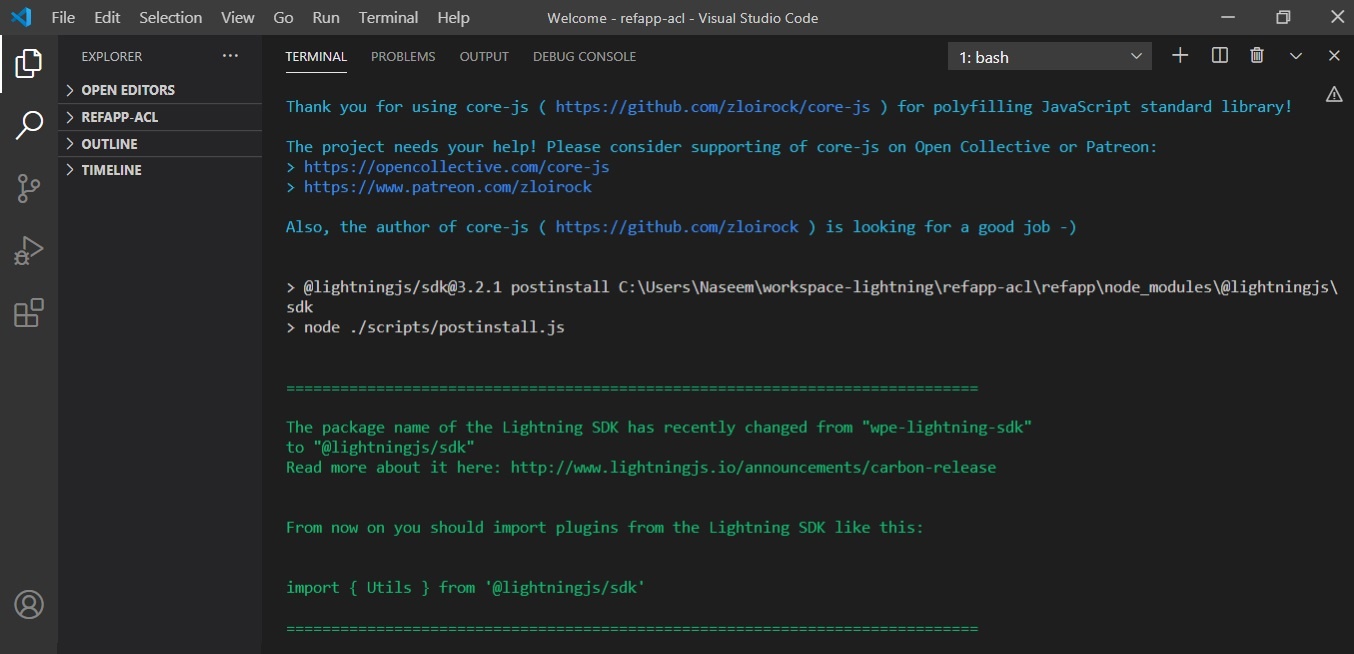
reference images for build instructions-2
once npm install complete, you will get message at the end "Do you want us to automatically check for old Lightning-SDK imports and update them in your project files? y/n
press n and hit enter button because on pressing y it gets hanged or stuck, in this case press ctrl+c
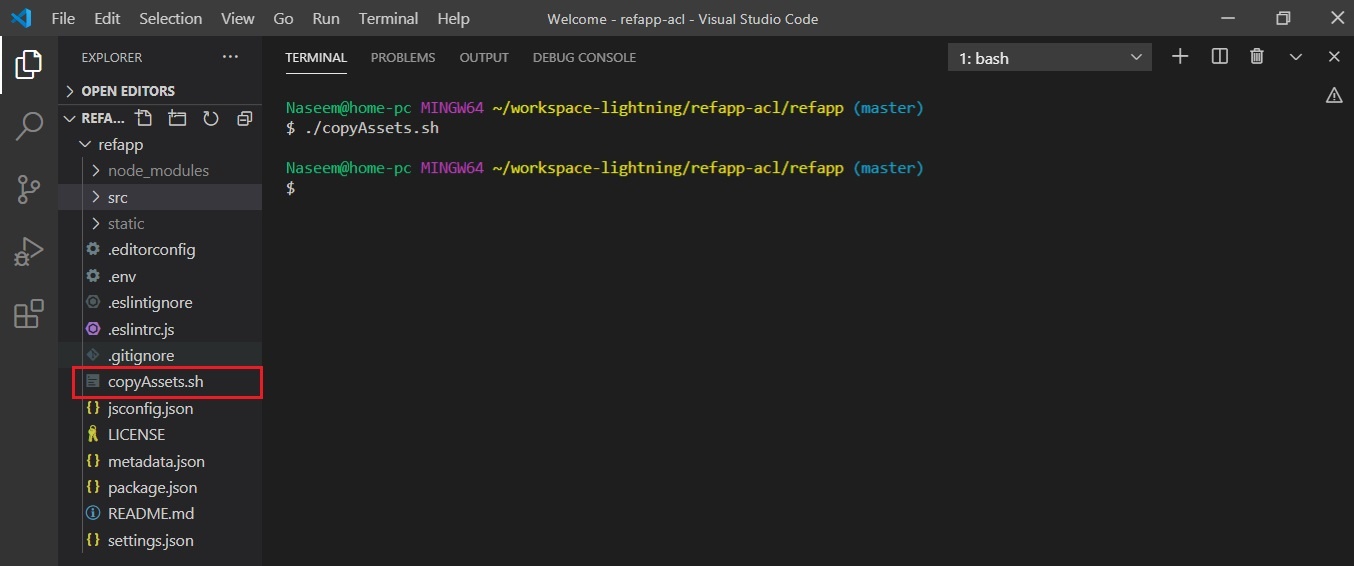
reference images for build instructions-3
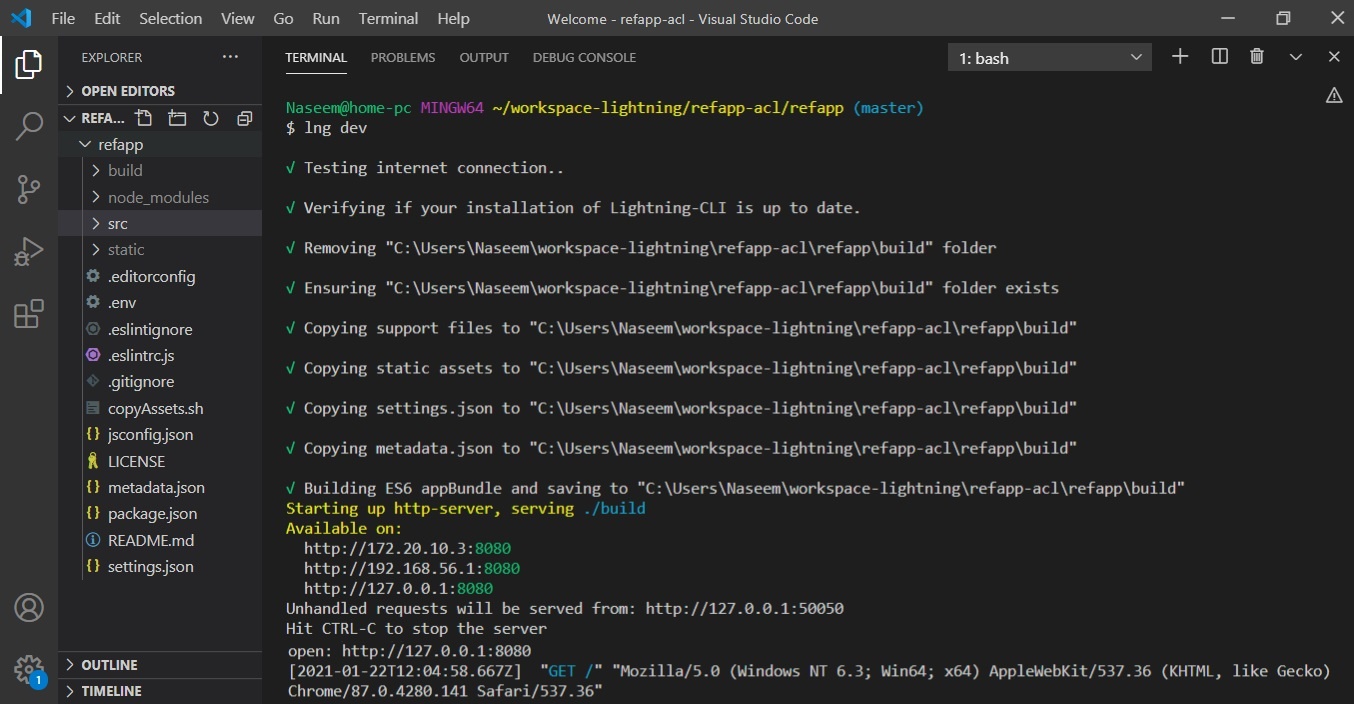
reference images for build instructions-4
by default vscode launch generated url on chrome browser in dev pc.

reference image for running app on browser

reference image for dist creation

4. add below line to avoid loading default app
url="http://192.168.0.106:8080/"
echo $url
5. replace exting url https://px-apps.sys.comcast.net/lightning_apps/SwitcherApp/dist/index.html in /opt/residentapp.conf with lighting app url which is hosted on server
for example your server providing url http://192.168.56.1:8080
6. reboot the box .
After reboot app come up with a splash screen. Lighting application will launch instead of switcher app. Main menu screen is displayed which allows users to launch apps, vod, and play video content.

