RDK Resources
[*RDK Preferred*]
Code Management Facility
RDK Forums
[RDK Conferences]
RDK Support
Archives
Papers & Presentations Archive![]()
Papers & Presentations Archive![]()
...

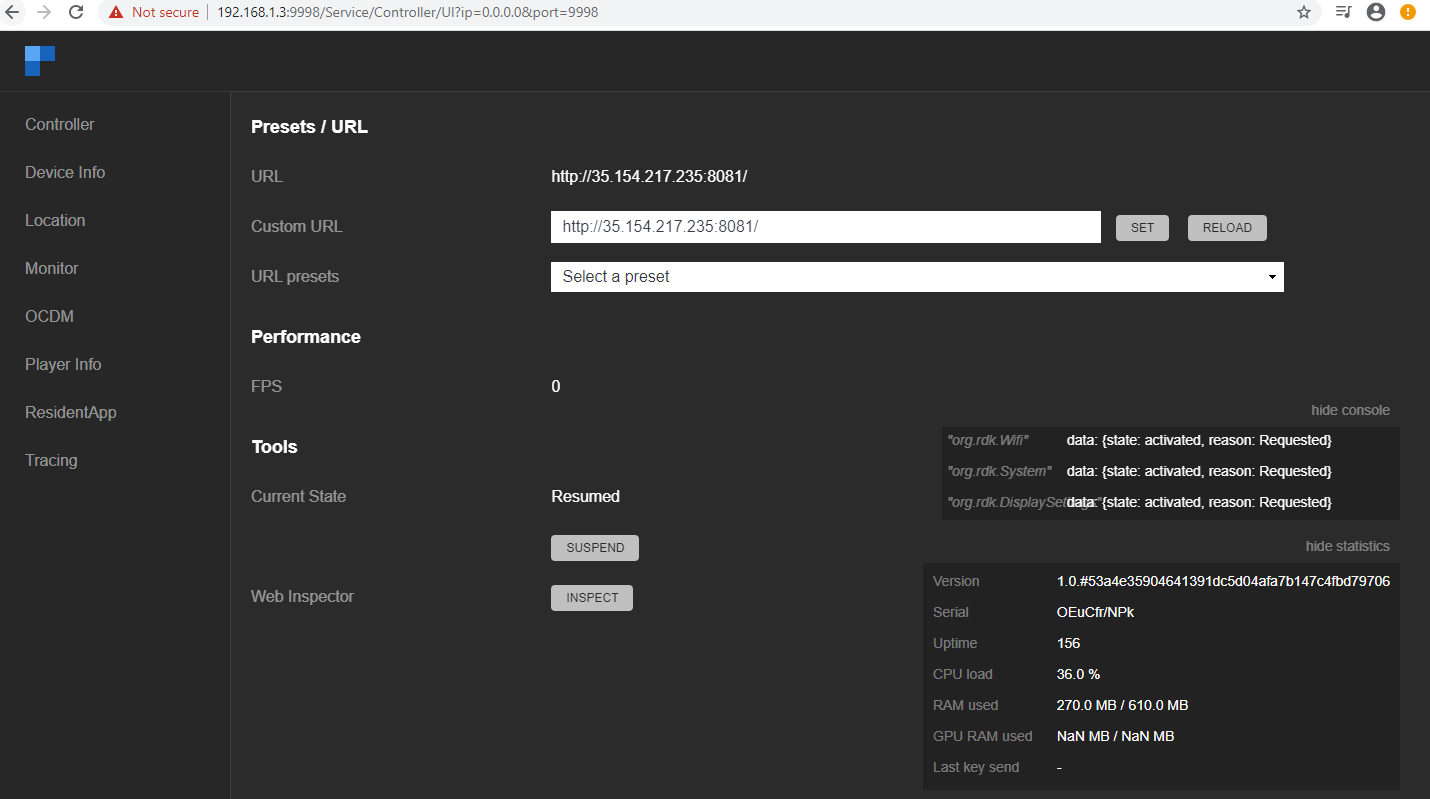
(Above figure shows setting URL in the UXResident App)
| Anchor | ||||
|---|---|---|---|---|
|
...
(Access restricted as open-sourcing process is in progress)
3. Switch to Accelerator UI's RDK services branch
git checkout <name_of_branch>
4. Navigate to the project Navigate to the project location in terminal
cd AcceleratorUI
...
As mentioned in Launch the pre-deployed Lightning UI on accelerator section, Launch Thunder Controller UI in your web browser by giving IP address of the devicethe URL in specified format.
In Thunder Controller UI, navigate to UX Resident tab and Enter the Application URL ( URL of the application getting from 'lng serve' ) in 'Custom URL' field and click on 'SET' button.
The Lightning accelerator UI will get loaded in the UXResident App(webkit browser instance)
...
On pressing ‘Home’ key (or ← key) from the live playback (or Backspace from keyboard), the Accelerator UI will get launched. Exiting from the UI at any stage is also done in the similar fashion by pressing ‘Home/Backspace’ key.

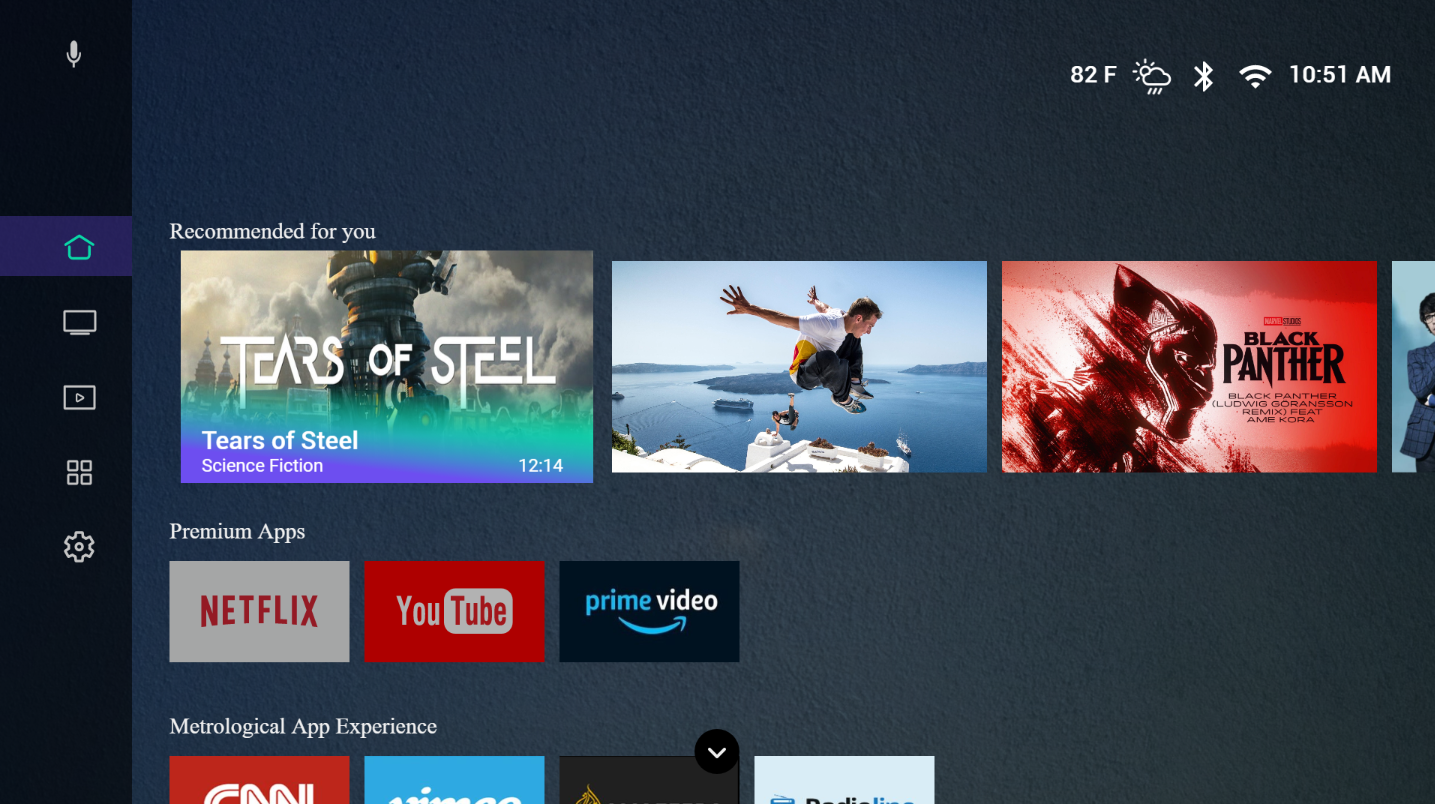
(The above figure shows the launched Accelerator UI on the screen)
...
In the Accelerator UI that has launched, the user will be in Home screen by default. On Pressing ‘Enter’ key from the home menu on Sidebar, the focus will be on Recommended for you. Underneath Recommended for you, there are rows corresponding to Premium Apps and Metrological Apps. The user can navigate into various rows using Up- ‘Down Arrow’ keys.

In the second row there is Premium Apps, in which three Apps are supported. The user can launch YouTube, Amazon and Netflix in supported platforms by pressing ‘OK /Enter’ key from the tiles.
How to enable Premium Apps
The premium apps - Amazon Prime, Netflix and YouTube are integrated in the application. By default, only YouTube is enabled. To enable/disable Amazon prime and Netflix, follow the below steps:
...
the second row there is Premium Apps, in which Youtube Apps is supported. The user can launch YouTube by pressing ‘OK /Enter’ key from the tiles.
Launching of all Applications in the third row is achieved by pressing ‘OK/Enter’ key from the tiles in Metrological Apps
...
‘Up’ and ‘Down Arrow’ keys | To navigate into each side menu item. |
‘Enter/OK’ key | To navigate into corresponding screens of the selected menu item. |
‘Left Arrow’ key | To bring focus on sidebar or to navigate back into sidebar from any launched screen. |

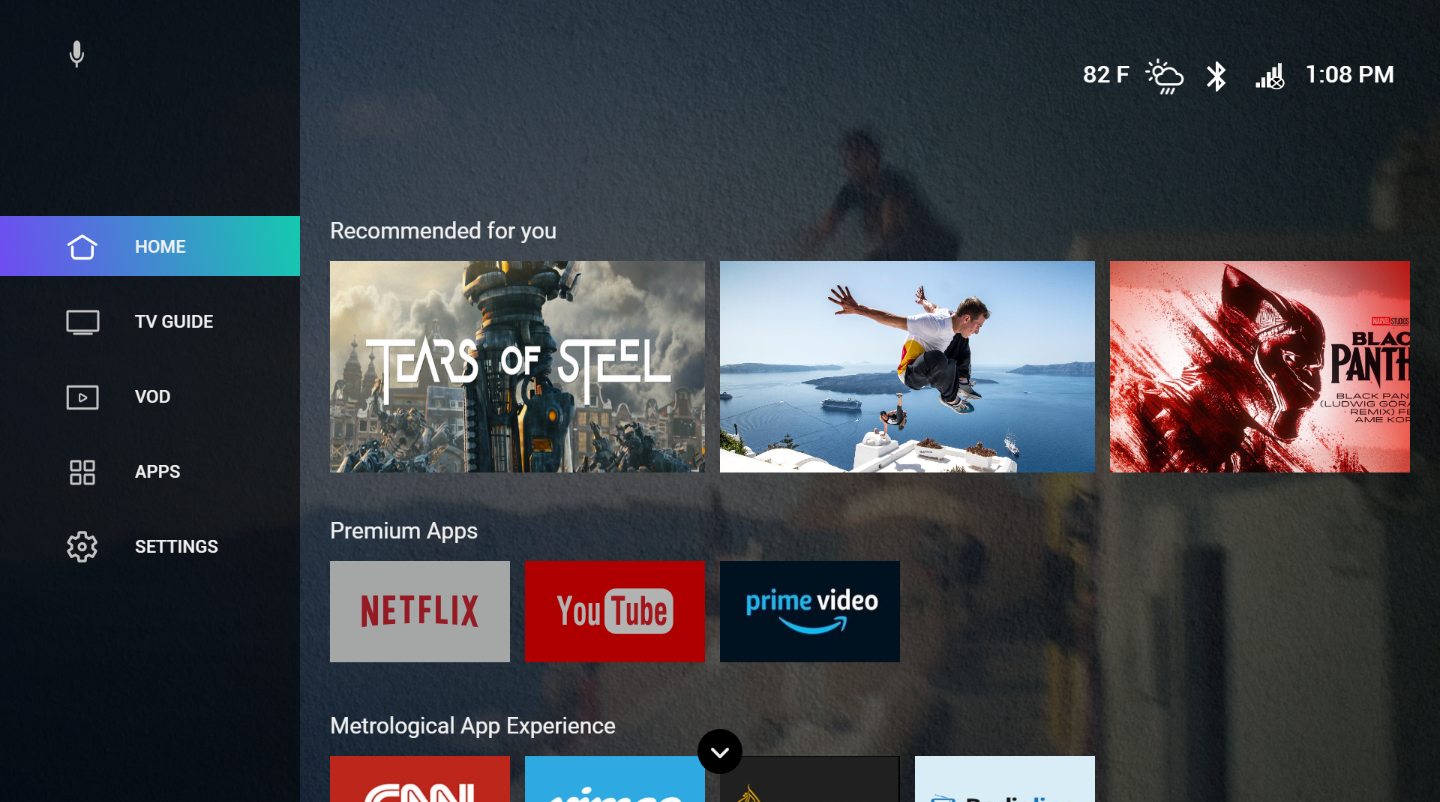
(The above figure shows the Side Menu on launching the Home screen )

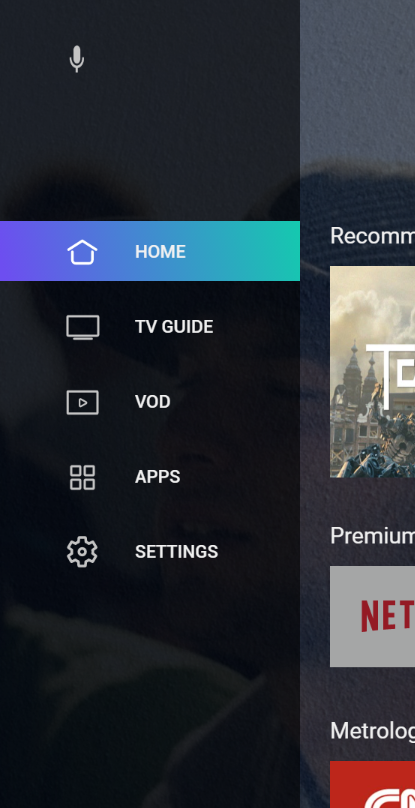
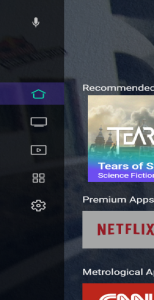
(The above figure shows the expanded Side Menu on pressing ‘Left Arrow’ key)
...
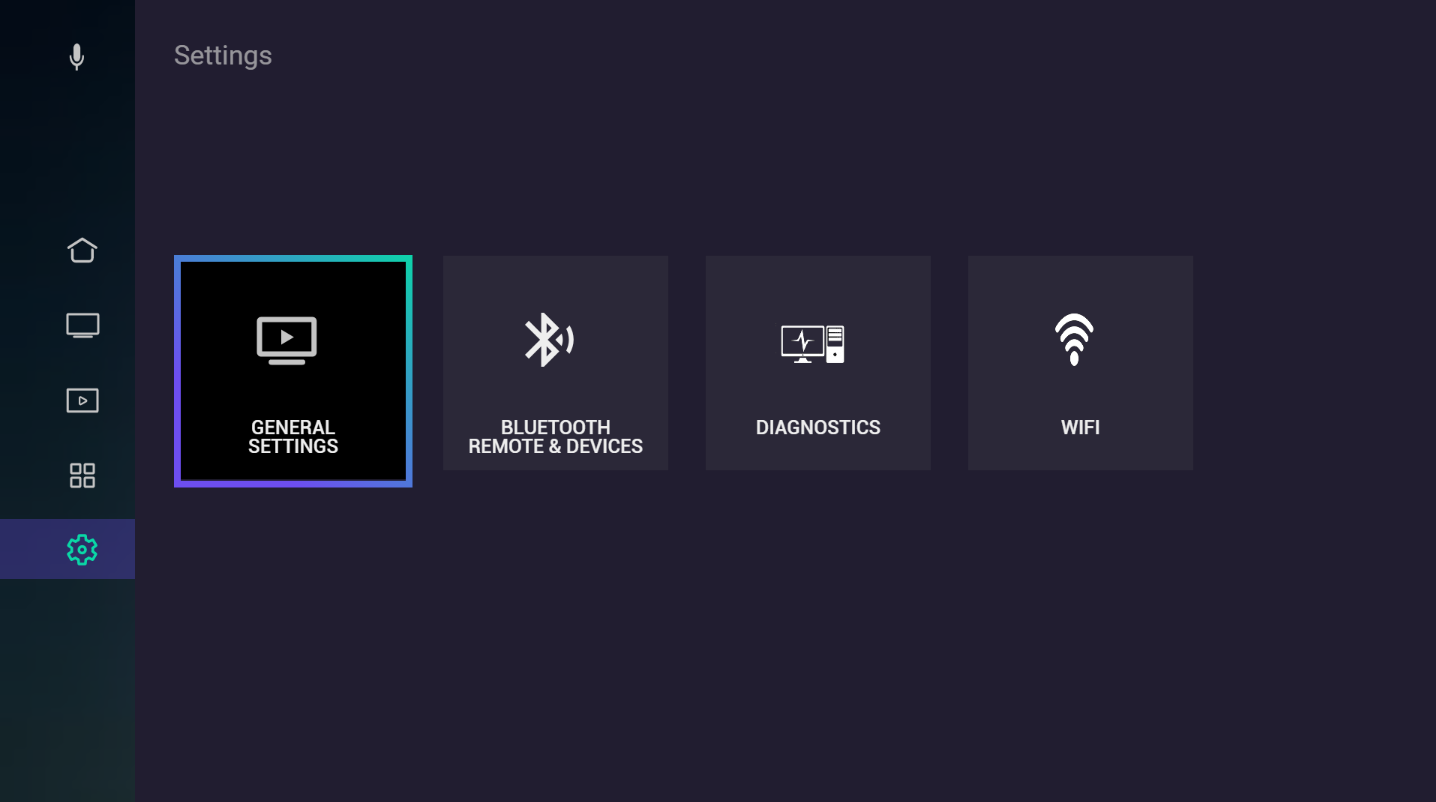
Navigate down through Sidebar menu and press ‘Enter’ key on settings menu to get settings window. Settings window comprise of General Settings, Bluetooth Remote & Devices, Network Interfaces , Diagnostics and Parental Controls. Wifi

Press ‘Enter’ key on ‘Discover Bluetooth Remote' to navigate in to instructions window. On pressing ‘Enter’ key, the system starts scanning for devices. Along with that press and hold ‘Volume Up’ and ‘Channel Up’ keys simultaneously till the green LED on the remote gets steady. Once the keys are released, green LED will start blinking. The instructions to discover Bluetooth remote are displayed for 10 seconds while the scanning process goes on in background. The countdown ends on successful scanning or after 10 seconds and lists the devices discovered and shows the connection status as ‘Not Ready’.
...
...