RDK Resources
[*RDK Preferred*]
Code Management Facility
RDK Forums
[RDK Conferences]
RDK Support
Archives
Papers & Presentations Archive![]()
Papers & Presentations Archive![]()
...
The RDK emulator is an x86 based implementation of the RDK software stack. It is primarily targeted towards the RDK development community (integrators, component developers and application developers) that attempts to simplify the process of working with the RDK software stack without the need for a reference hardware platform. The key applications in the RDK Emulator are the rmfApp, Media streamer and the RDK-Browser. As RDK emulator runs on desktop computers, applications can be tested and debugged before trying to deploy them to real devices.
...
Abbreviation/Acronym | Description | |||
RDK | Reference Development Kit | |||
VM | Virtual Machine | |||
VBox | Virtual BoxQAM | |||
Quadrature Amplitude Modulation | STB | Set Top Box | ||
XRE | Cross-Platform Runtime Environment | |||
HDD | Hard Disk DriveEOS | |||
End of Stream | SPTS | Single Program Transport Stream | MPTS | Multi- Program Transport Stream |
UPNP | Universal Plug and Play |
...
...
Build Types | RDK Components Involved | Features/Applications Supported | Final Image Name | Startup Application |
RDK Mediaclient |
|
| rdk-generic-mediaclient-image-qemux86.vmdk | Nil. Currently boots up to console screen. |
...
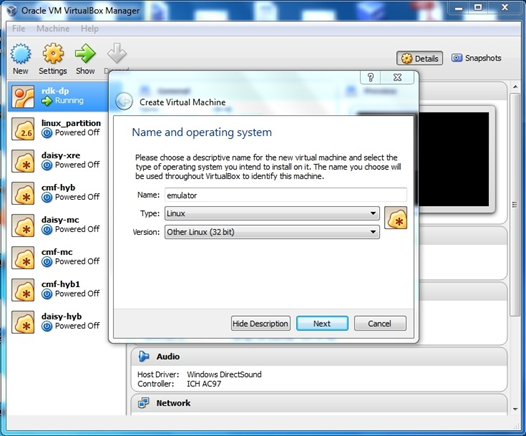
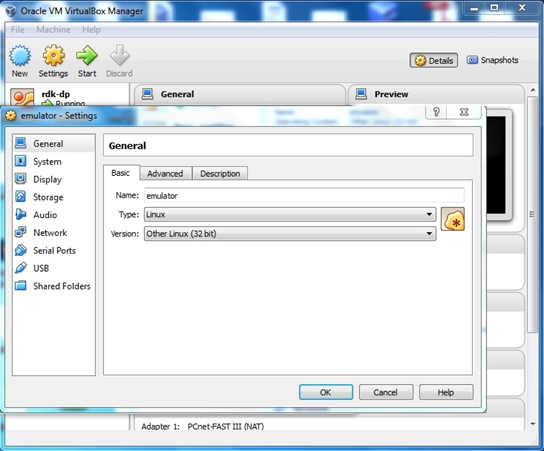
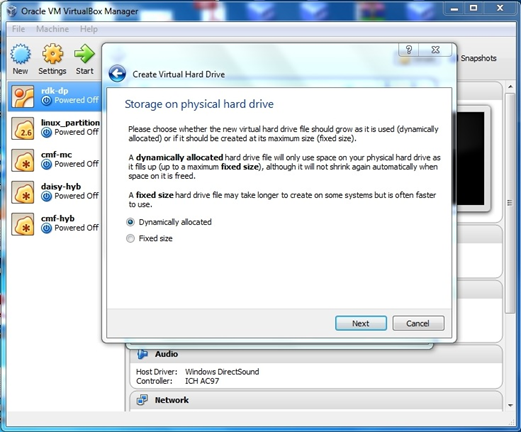
Open Virtualbox
Select New [A popup will come up]
Select Type as ‘Linux’
Select Version as ‘Other Linux (32 Bit)’
Click on “Next”
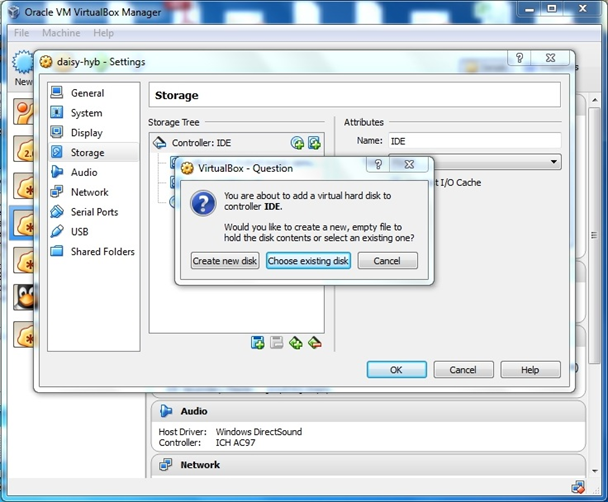
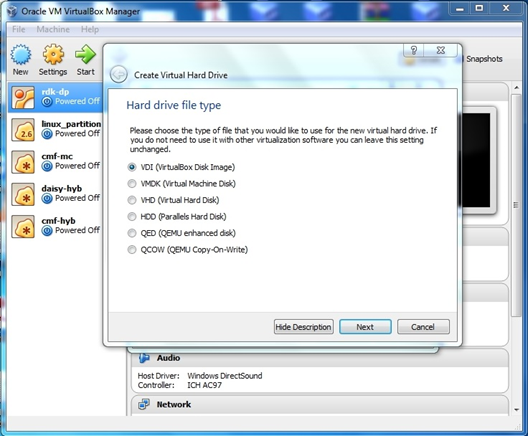
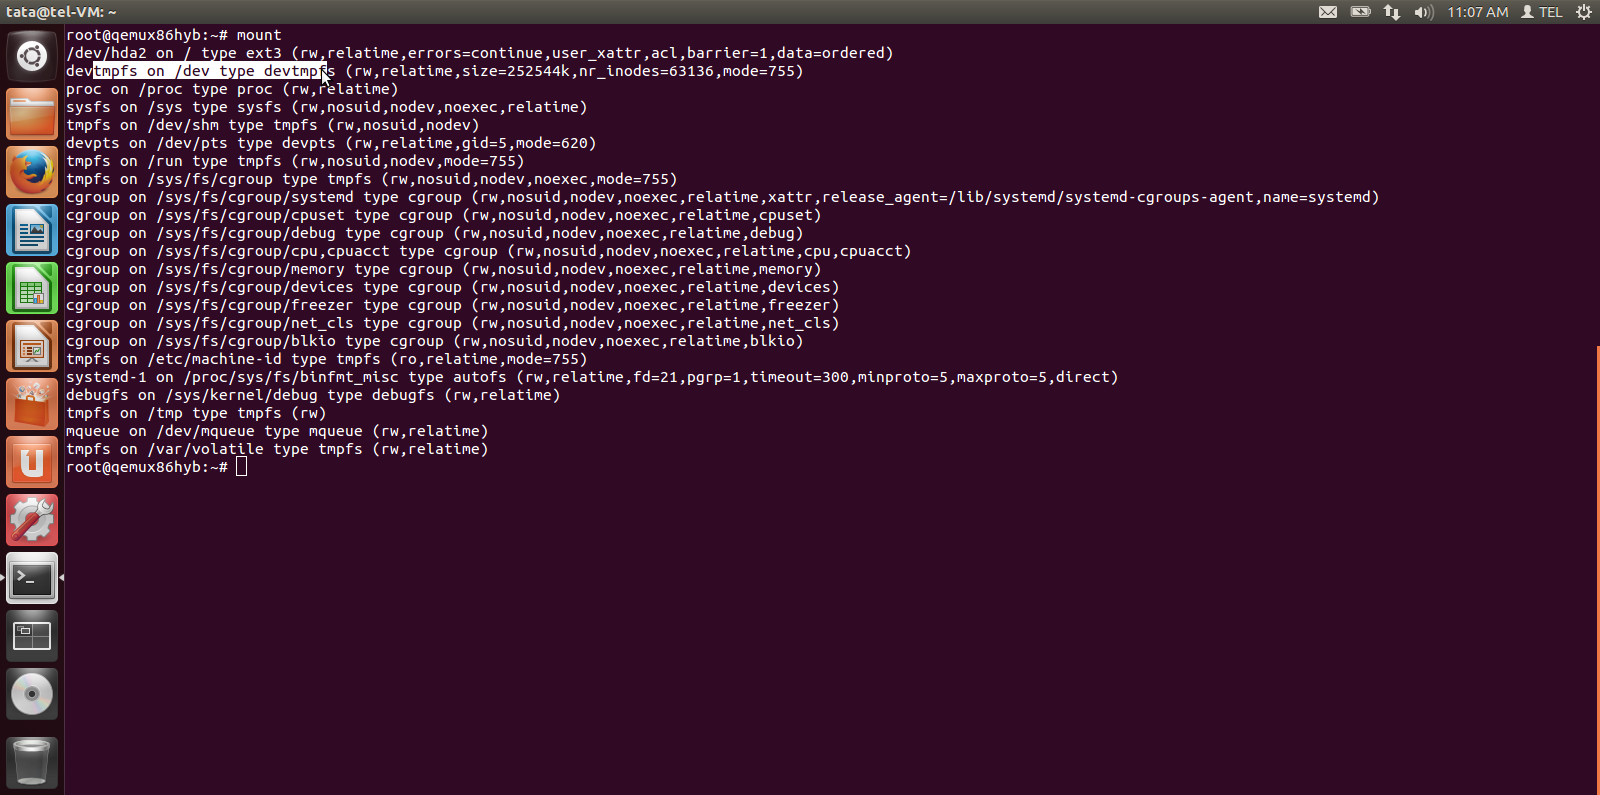
Your VM has been built with very limited hard drive space. In order to run emulator and play video files, you need to copy your video files into the file system for playback. For this, you will need to setup a virtual external hard drive.

| $ ssh root@x.x.x.x |
|---|
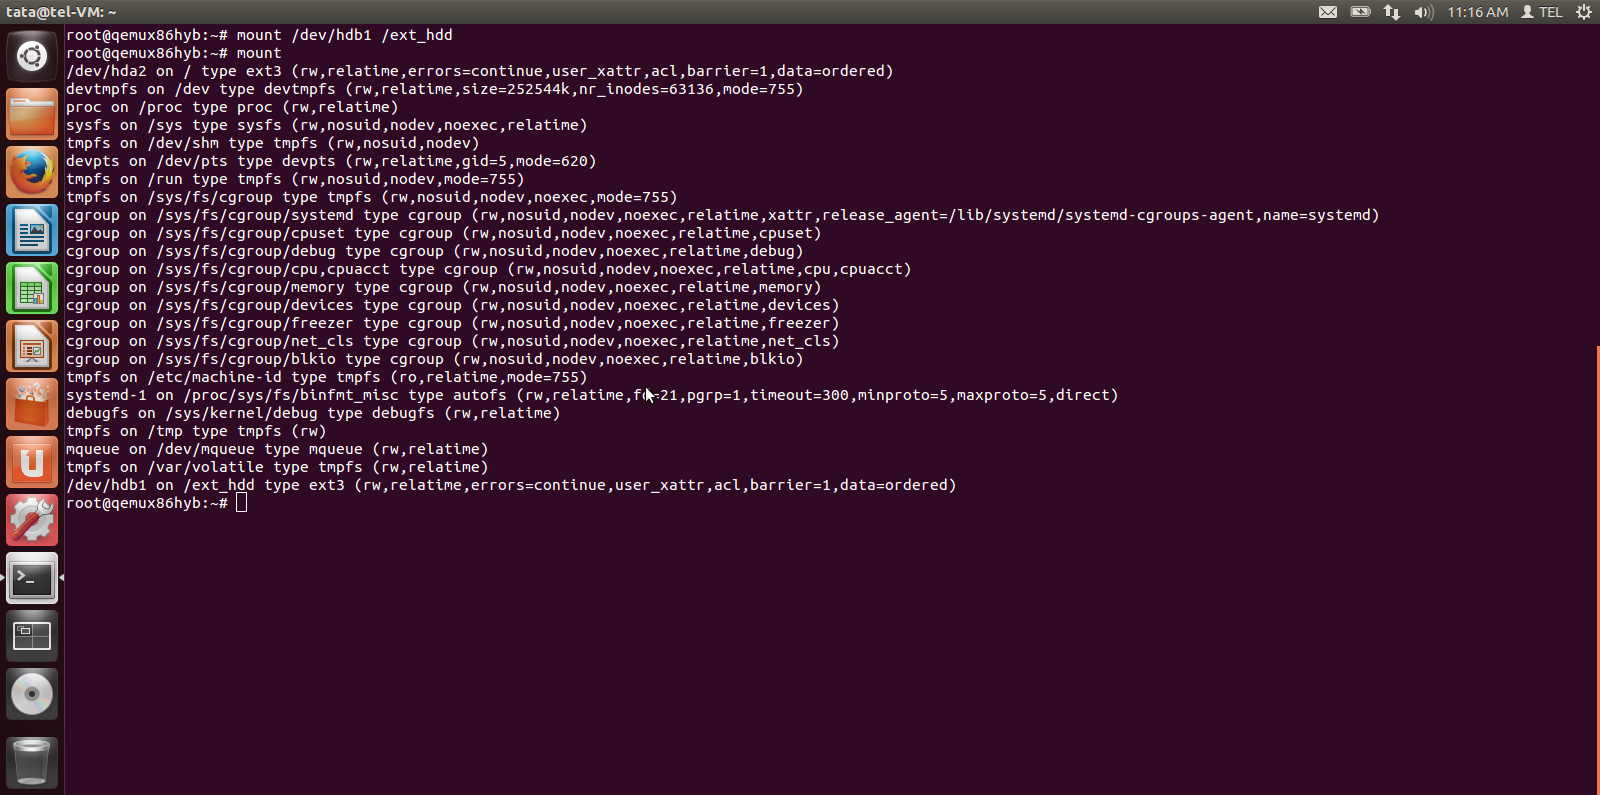
| $ mount |
|---|
| $ fdisk -l |
|---|

| $ fdisk /dev/hdb |
|---|
Review the description of the steps during fdisk operation below and the following screenshot for reference before proceeding.
| $ Command (m for help): n |
|---|
$ Partition type: p primary (0 primary, 0 extended, 4 free) e extended Select (default p): p |
|---|
| $ Partition number (1-4, default 1): 1 |
|---|
| $ Command (m for help): p |
|---|
| $ Command (m for help): w |
|---|

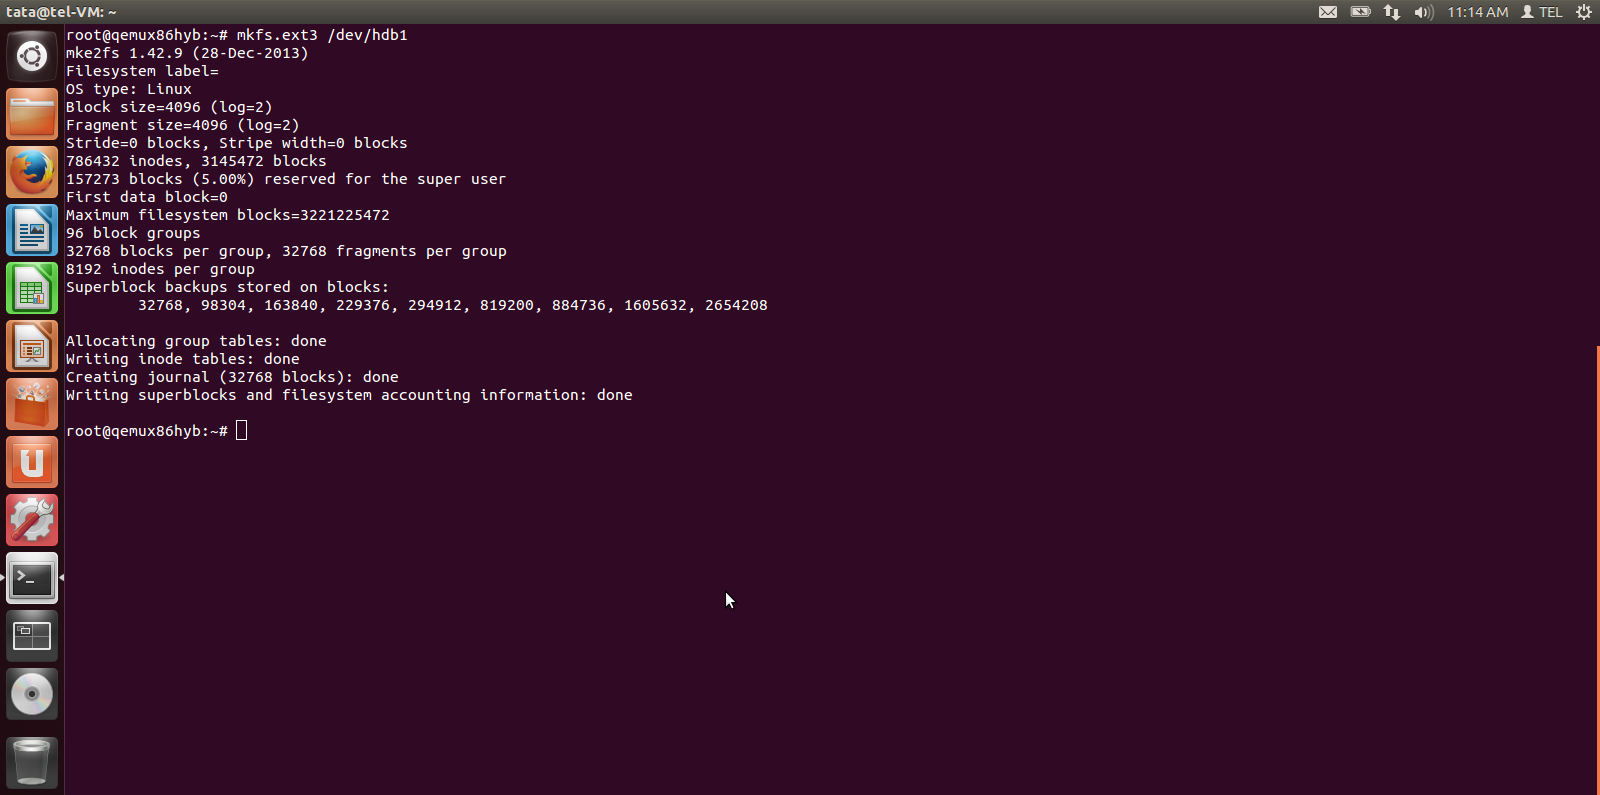
| $ mkfs.ext3 /dev/hdb1 |
|---|
$ mkdir /ext_hdd $ mount /dev/hdb1 /ext_hdd |
|---|
| $ scp <your<file_spts_file_name> .ts root@<your_emulator_vm_ip>:/ext_hdd |
|---|
| $ ln -sf /ext_hdd/<your_spts_file_<file name> <your_spts_file_name> |
|---|

As described in the previous section, you can log in to your emulator VM from your Host Machine using the ssh command.
| $ ssh root@x.x.x.x |
|---|
RDK emulator supports westeros compositor and renderer module as westeros-renderer-gl
1) ssh login to the Emulator
Westeros compositor will run automatically in startup of Emulator image
run following commands in terminal for manual starting the compositor on Emulator if needed
| Code Block | ||
|---|---|---|
| ||
$ mkdir -p /run/user/0 $ export XDG_RUNTIME_DIR=/run/user/0/ $ westeros --renderer <renderer module> --display <socket-name> & $ westeros --renderer /usr/lib/libwesteros_render_gl.so.0.0.0 --display WPE & $ gdisplay start $ export WAYLAND_DISPLAY=WPE for Dunfell Emulator --------------------- $ mkdir -p /run/user/0 $ export XDG_RUNTIME_DIR=/run/user/0/ Add the below line in westeros-init.sh export LD_PRELOAD=/usr/lib/libwesteros_gl.so.0.0.0 $ westeros --renderer /usr/lib/libwesteros_render_gl.so.0.0.0 --display WPE & Run the commands westeros-init.sh westeors_test |
westeros compositor will launch
to test westeros compositor with simple egl test apliaction
run westeros_test
| Code Block | ||
|---|---|---|
| ||
# After Launching westeros compositor in emulator $ export XDG_RUNTIME_DIR=/run/user/0/ $ export WAYLAND_DISPLAY=WPE $ westeros_test (or) $ westeros_test --display WPE |

| Code Block | ||
|---|---|---|
| ||
$ export XDG_RUNTIME_DIR=/run/user/0/ $ export WAYLAND_DISPLAY=WPE #Check the plugin in image $ gst-inspect-1.0 westerossink # To play the video and render on westeros compositor $ gst-launch-1.0 playbin uri=http://localhost:50050/received_spts1.ts videosink=westerossink |