RDK Resources
[*RDK Preferred*]
Code Management Facility
RDK Forums
[RDK Conferences]
RDK Support
Archives
Papers & Presentations Archive![]()
Papers & Presentations Archive![]()
Captive portal provides user to configure their Wi-Fi SSID, credentials.On fresh boot-up and factory-reset, Captive Portal prompts to change the default ssid name and password for browsing a any url's on connected client's through Gateway network.
...
...
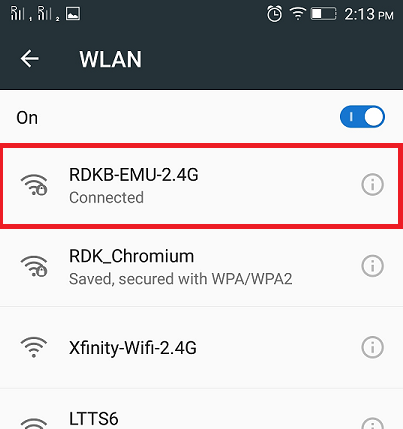
On Fresh boot-up/Factor-Reset , User's associated with Emulator Gateway Network. Wi-Fi AccessPoint broadcasting in client Mobile.Now Connect your Mobile devices to default Wi-Fi SSID and Passkey of Emulator Device.
Emulator Wireless Credentials ,
For 2g : SSID : RDKB-EMU-2.4G and Passkey : 2g-password
For 5g : SSID : RDKB-EMU-5G and passkey : 5g-password
...
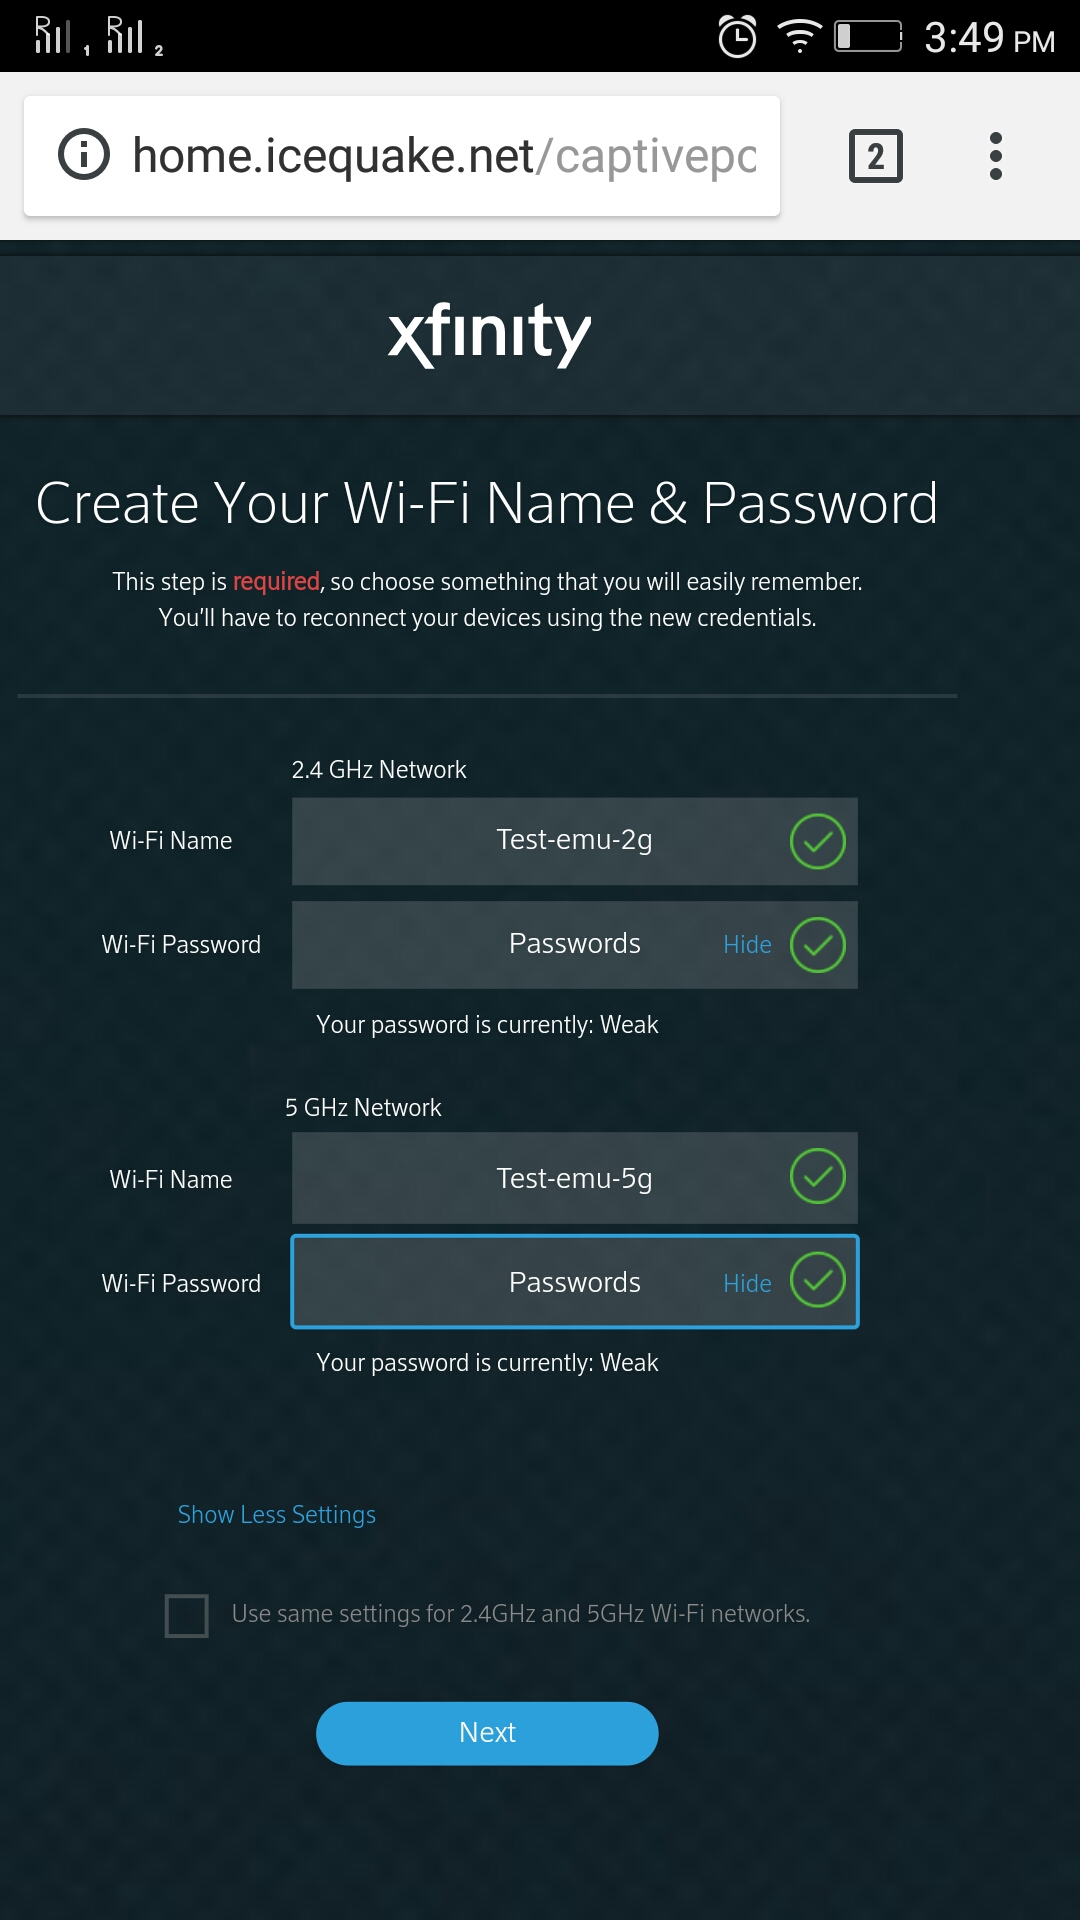
User's can browse any http url's on connected clients, It will automatically redirects to Captive Portal Page as shown as below
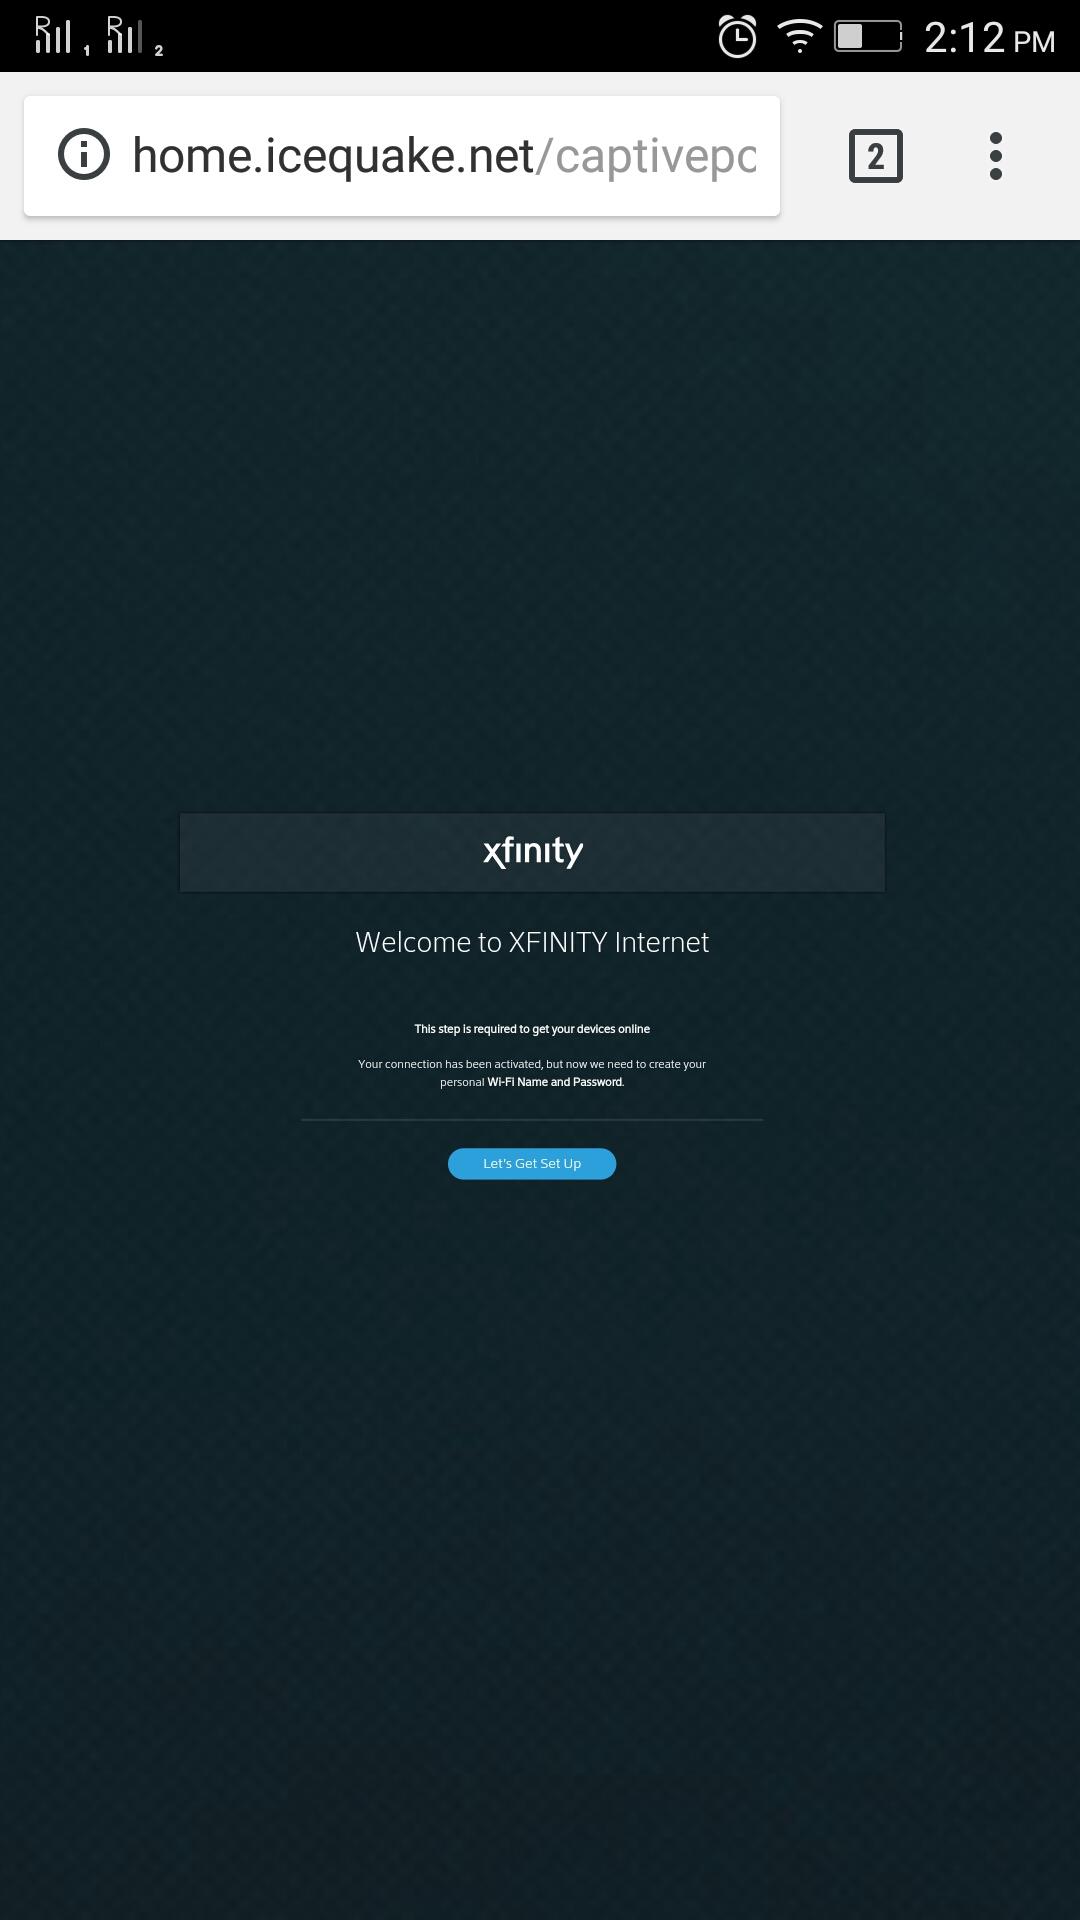
Next open any web browser on connected client and then try to access any of the http site/WebUI . We observe that http url request gets redirected to default captive portal page as shown as below :
For example : http://home.icequake.net
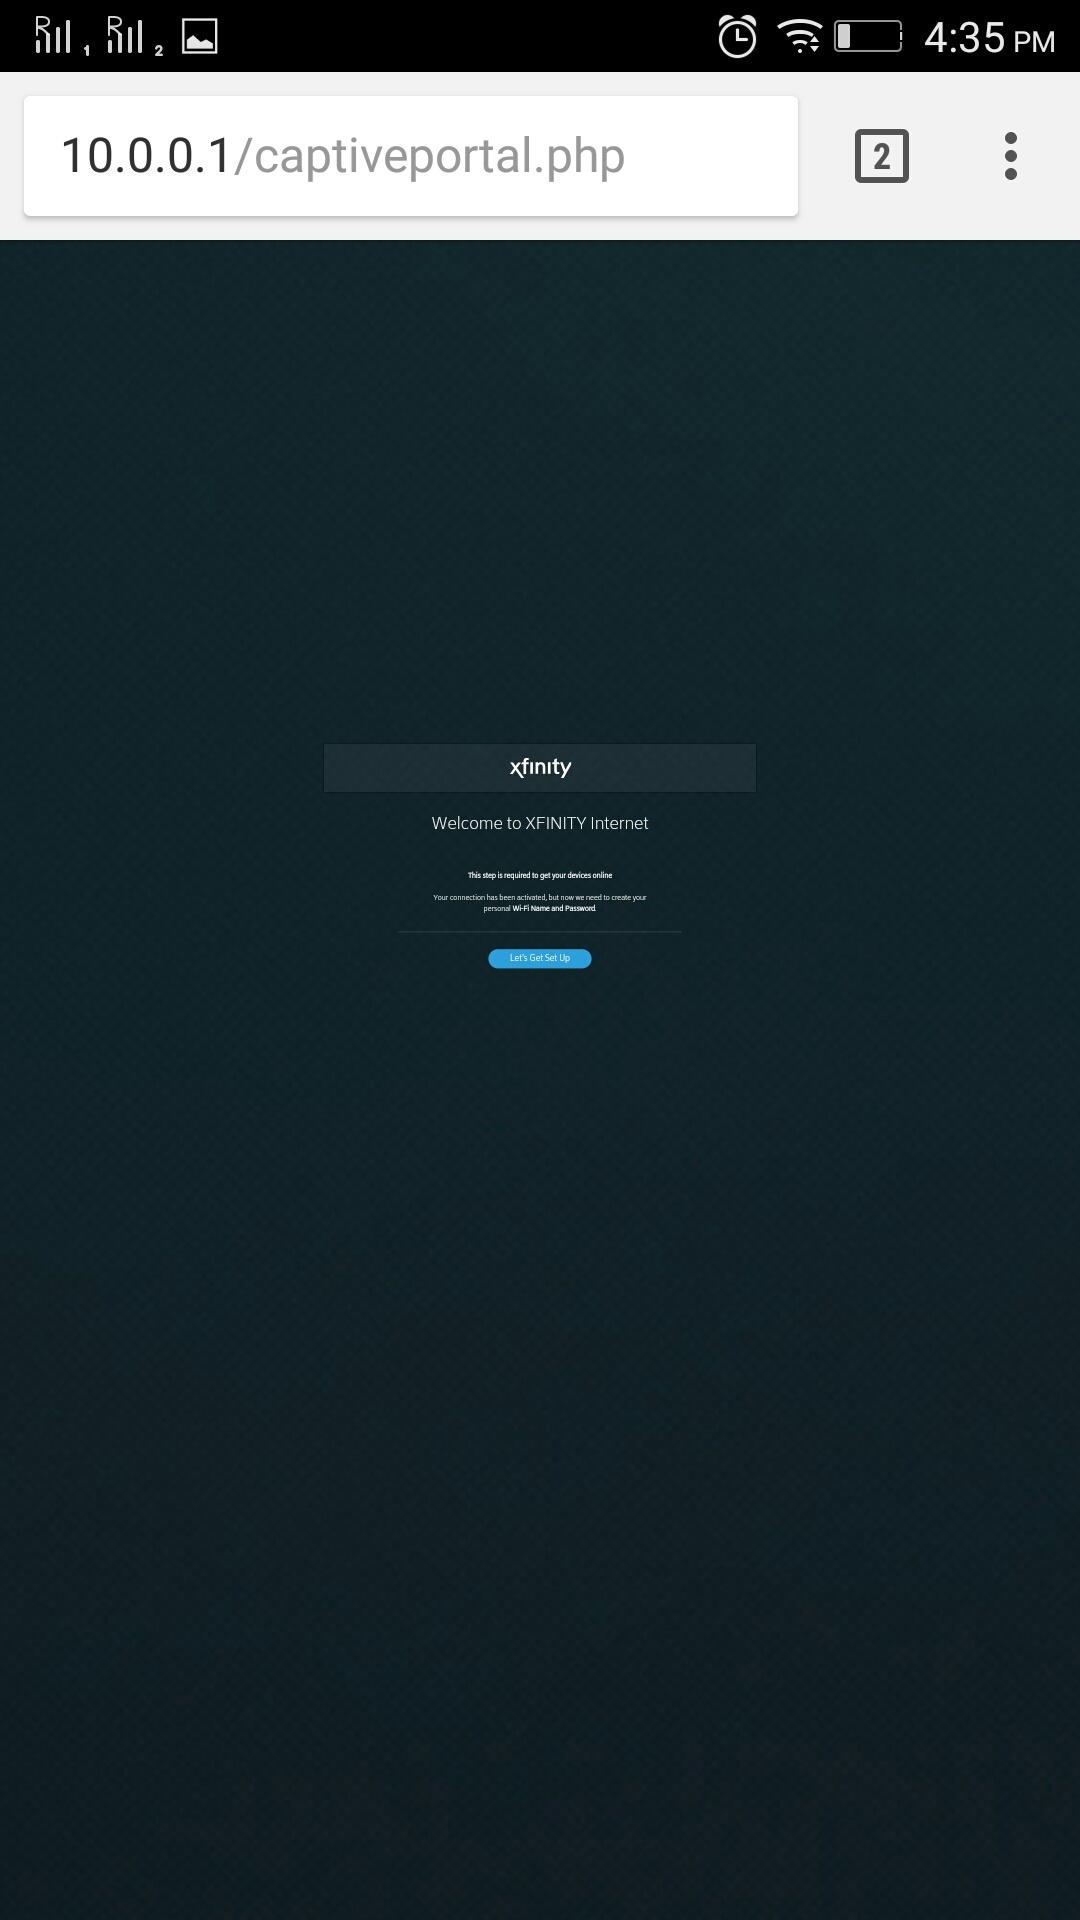
Type http://10.0.0.1:80 in browser
...
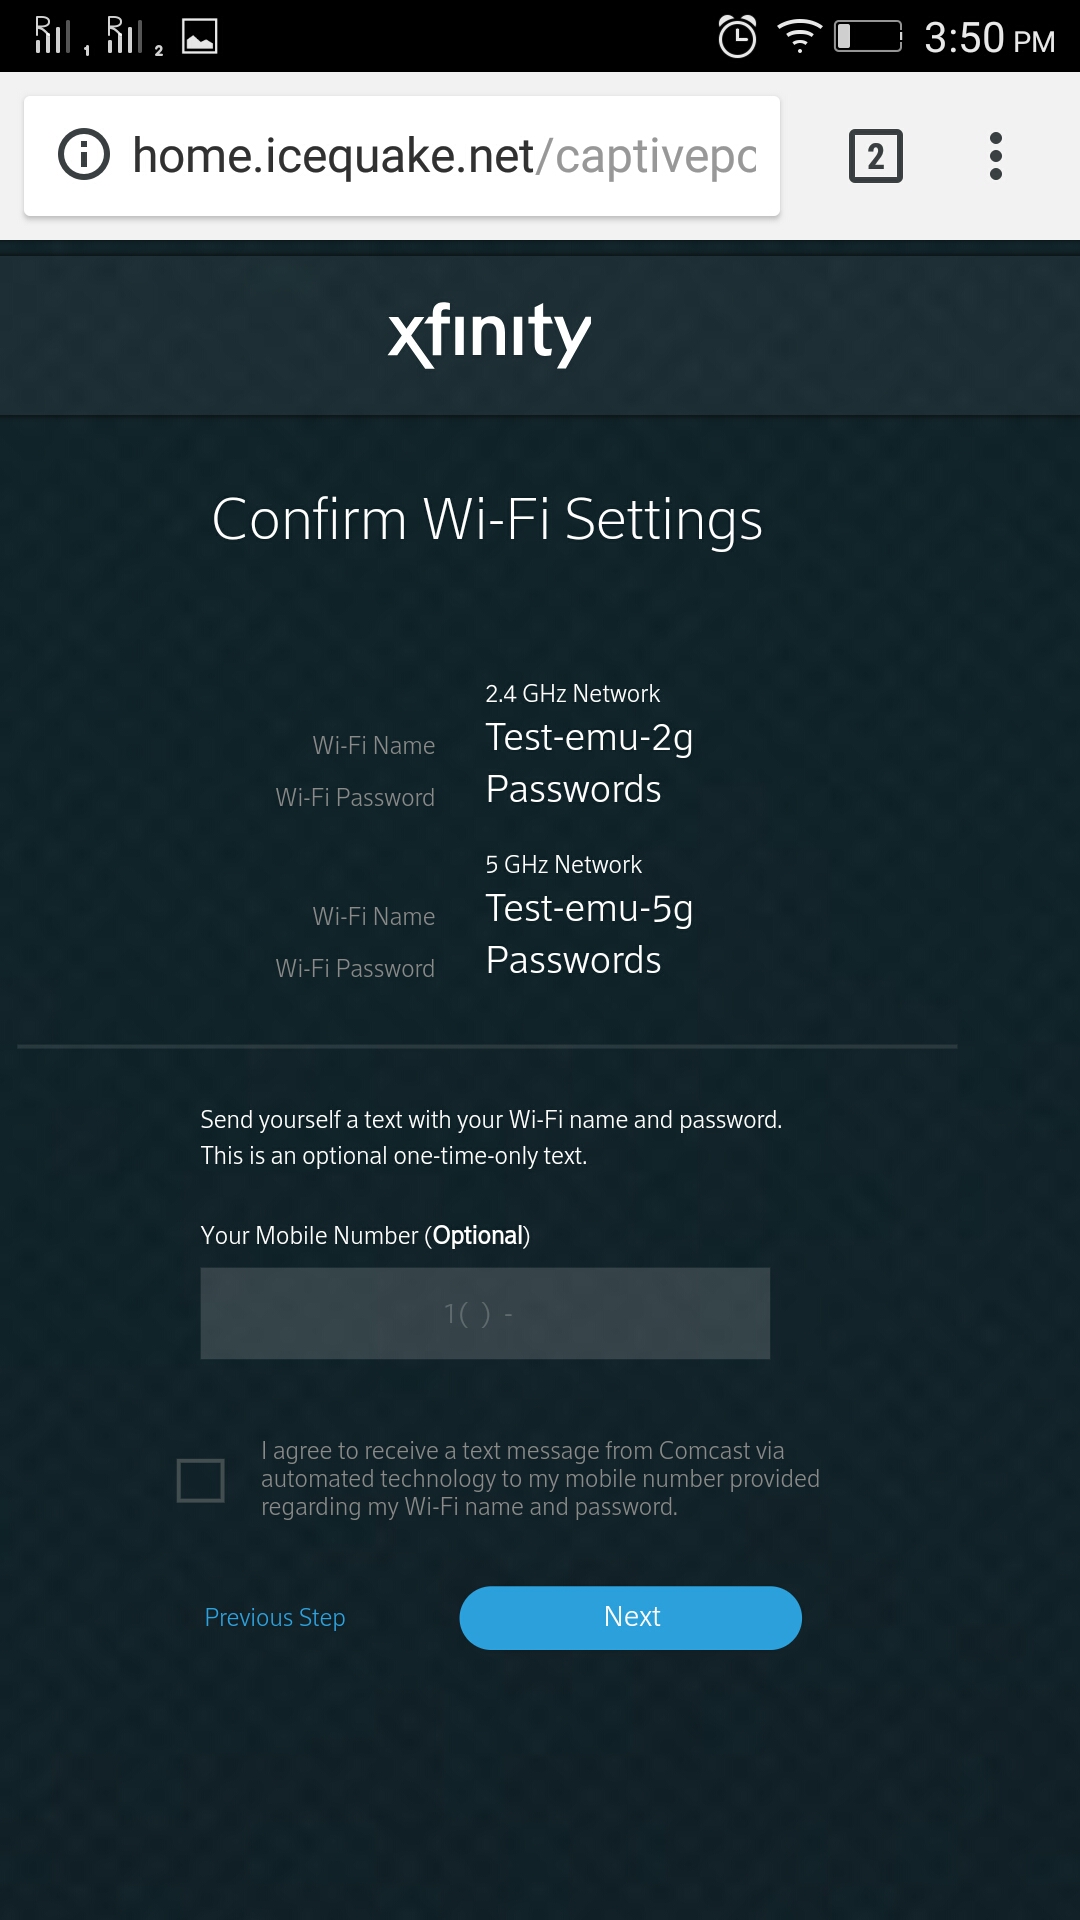
Set your individual Wi-Fi SSID and Passkey for your Emulator device in the captive portal page. Click on Next.
Type GatewayIP:80(eg: 10.0.0.1:80) on connected clinet's browser, WebUI will automatically redirected to Captive Portal
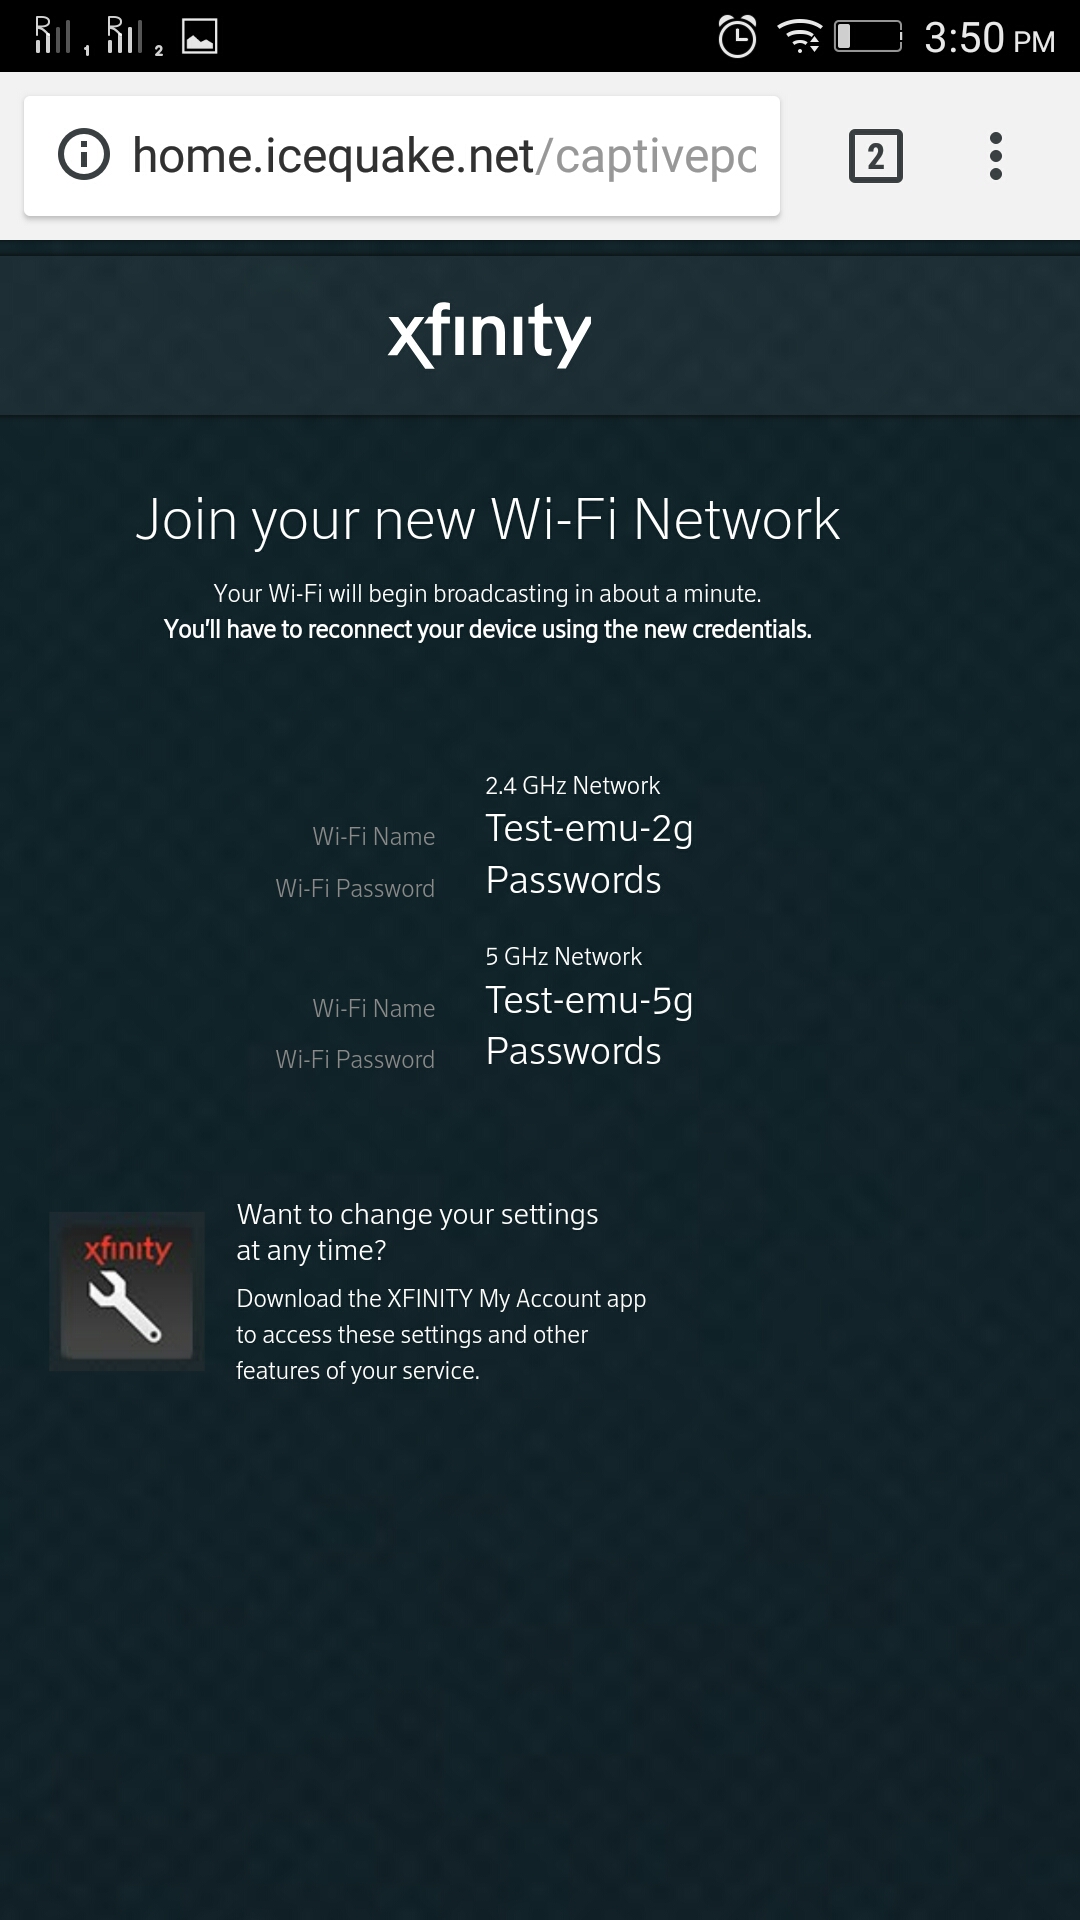
Click on Next . The New SSID and Passkey is set and then comes out from Captive Portal page.
...
Enabling and Disabling the captive portal page on fresh boot-up / factory-reset
| Code Block | ||
|---|---|---|
| ||
root@RaspberryPi-Gatewayroot@qemux86broadband:~# dmcli eRTsimu getv Device.DeviceInfo.X_RDKCENTRAL-COM_CaptivePortalEnable CR component name is: eRT.com.cisco.spvtg.ccsp.CR subsystem_prefix eRT. getv from/to component(eRT.com.cisco.spvtg.ccsp.pam): Device.DeviceInfo.X_RDKCENTRAL-COM_CaptivePortalEnable Execution succeed. Parameter 1 name: Device.DeviceInfo.X_RDKCENTRAL-COM_CaptivePortalEnable type: bool, value: false root@RaspberryPi-Gatewayroot@qemux86broadband:~# dmcli eRTsimu setv Device.DeviceInfo.X_RDKCENTRAL-COM_CaptivePortalEnable bool false CR component name is: eRT.com.cisco.spvtg.ccsp.CR subsystem_prefix eRT. setv from/to component(eRT.com.cisco.spvtg.ccsp.pam): Device.DeviceInfo.X_RDKCENTRAL-COM_CaptivePortalEnable Execution succeed. |
...
If this parameter "Device.DeviceInfo.X_RDKCENTRAL-COM_CaptivePortalEnable" gets enabled, Captive Portal should be UP instead of WebUI.
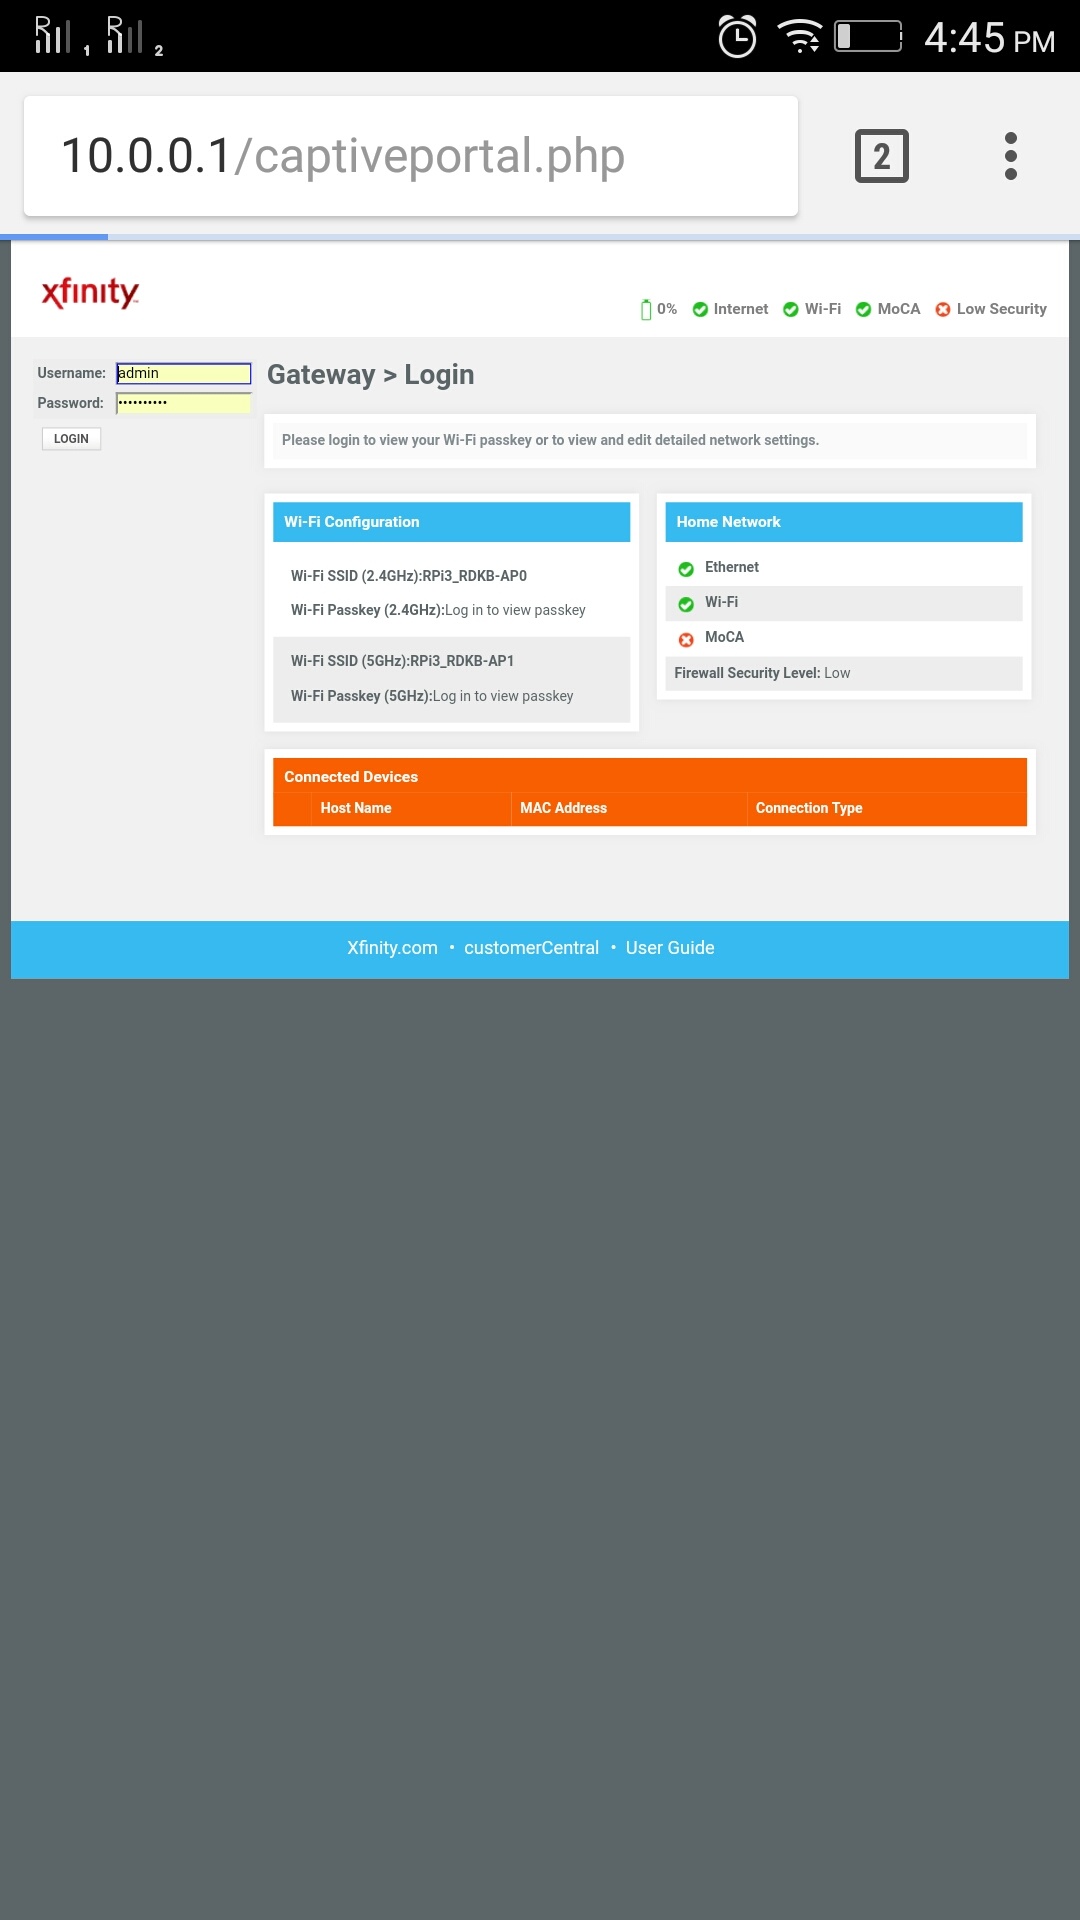
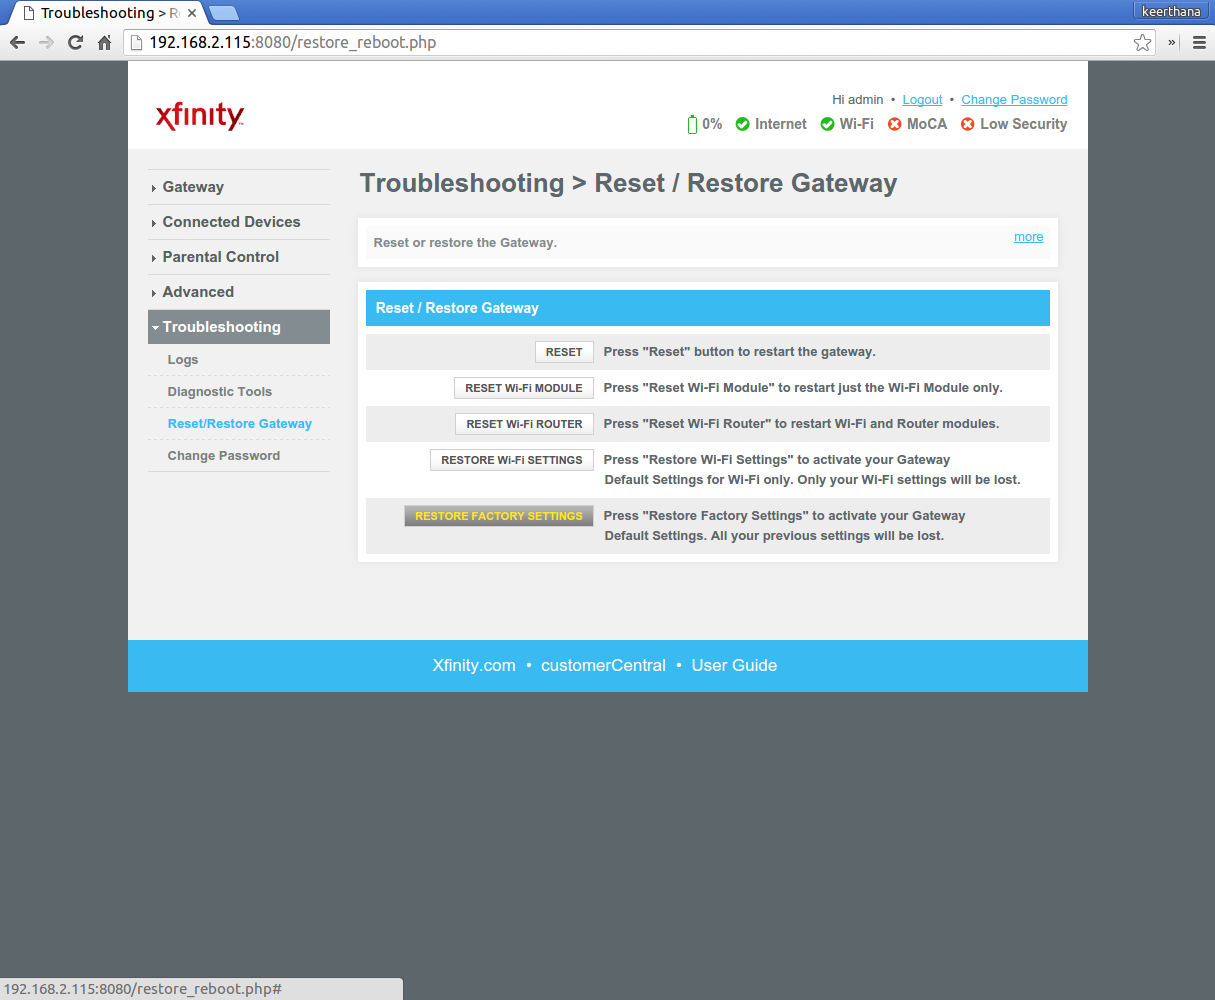
Login to the device WebUI from your PC. Please follow the below steps,
URL : http://10.0.0.1(GatewayIP):80
Default login ID and Password : admin and password
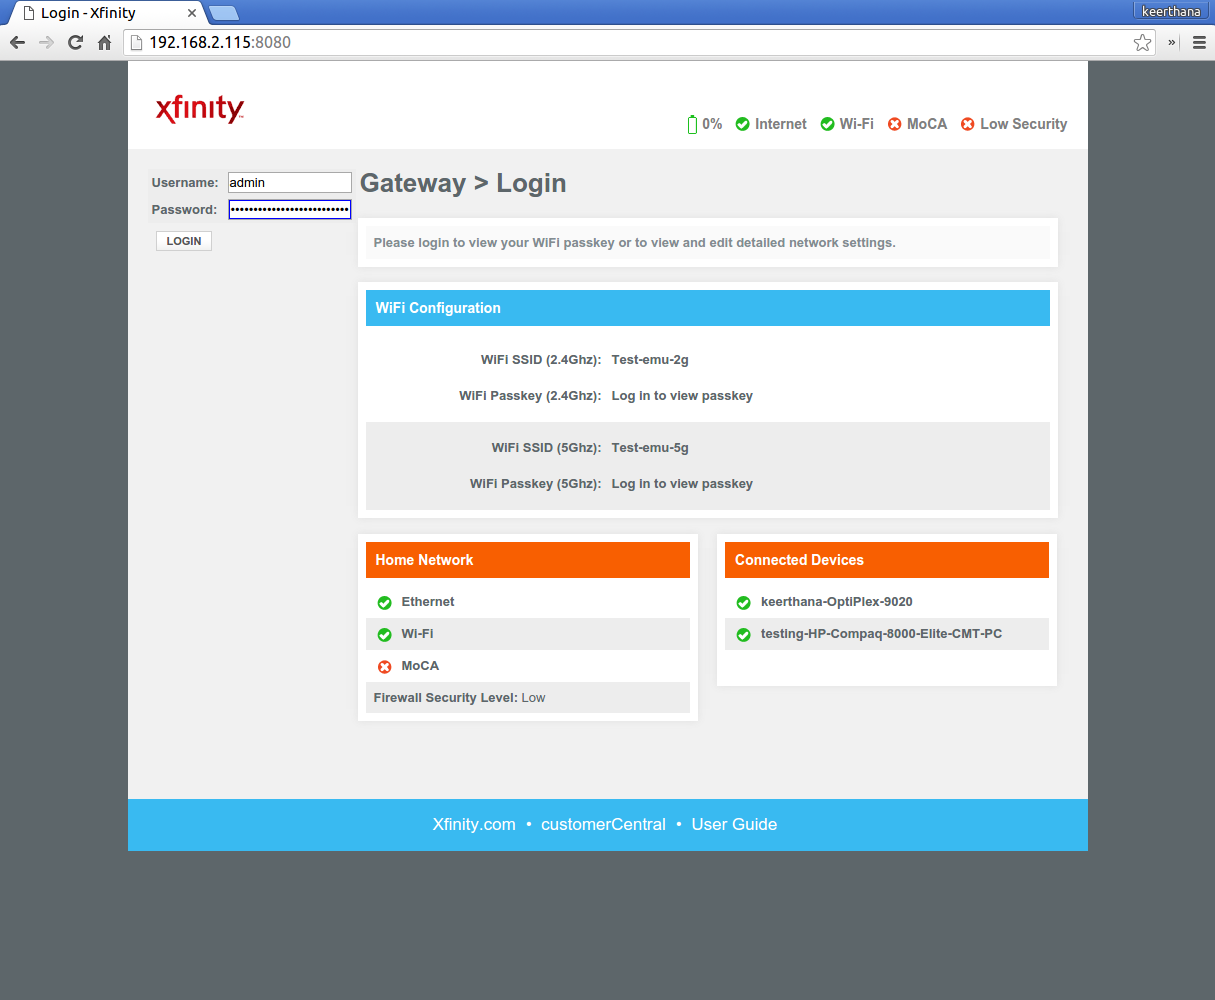
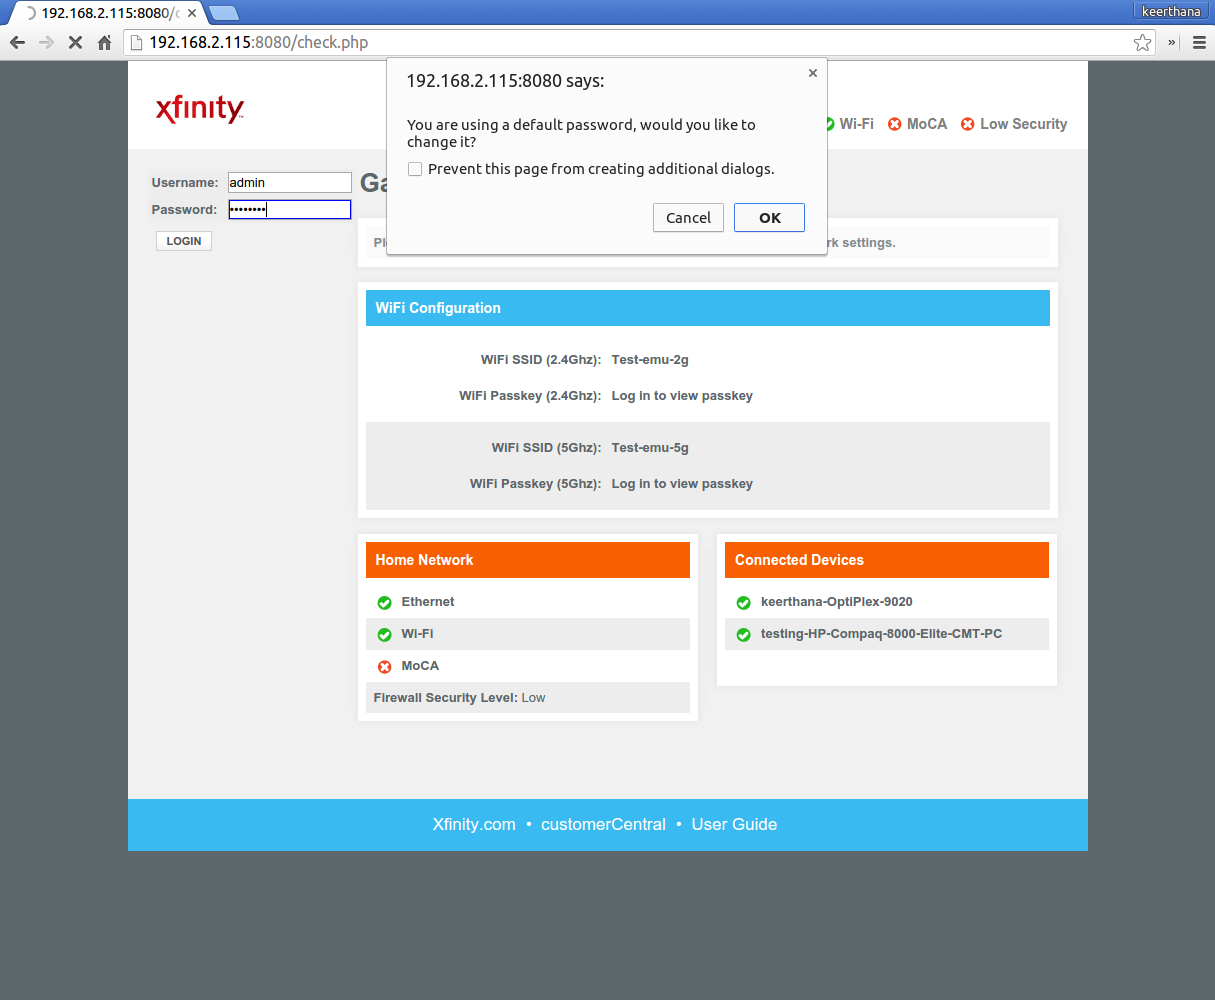
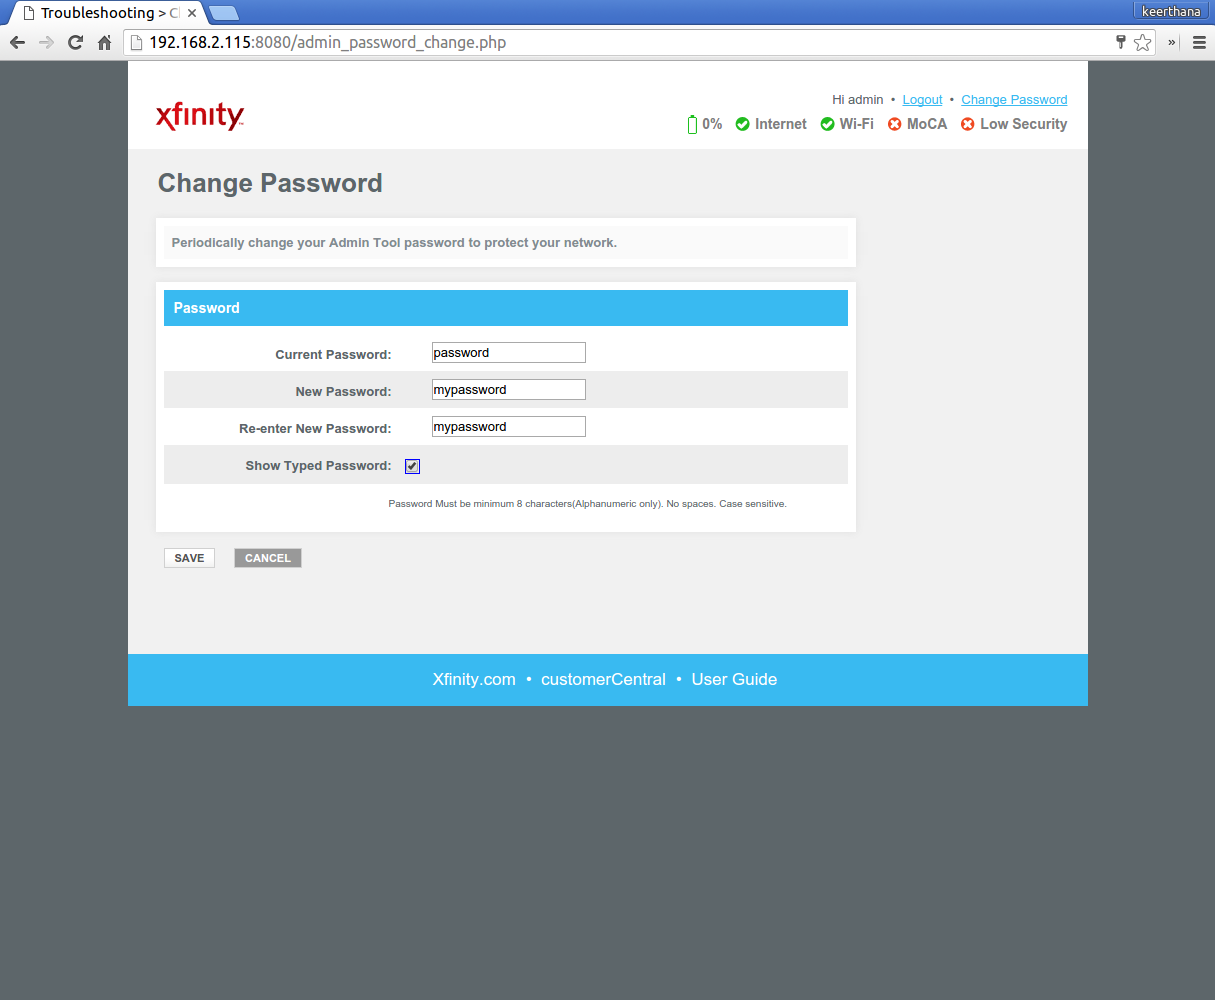
If it's first time login , you are prompted to change your default password.Please login again using the New Password.
Bring the device to Factory Reset Mode :
Click on Restore Factory Settings option, a confirmation window opens and then click 'OK'.