You are viewing an old version of this page. View the current version.
Compare with Current
View Page History
« Previous
Version 14
Next »
Introduction
Simulated IPv6 test environment setup for IPv6 connectivity.
IPv6 environment flow diagram
Dibbler-Server setup in IPv6 Simulator
Step 1: Install dibbler server on host device ( sudo apt install dibbler-server )
Step 2: Configure server.conf file, replace iface name with your device usb-ethernet iface name.
| /etc/dibbler/server.conf |
|---|
iface "enp0s31f6" {
class {
pool 2001:db8:1111::/64
}
pd-class {
pd-pool 2601:9c0:d00:1170::/60
pd-length 60
}
option dns-server 2001:4860:4860::8888,2000::ff,2000::fe } |
Step 3: Connect host machine to any available mobile hotspot, check your WiFi interface is getting IPv6 addr and able to do ping6.
Step 4: Add nat rule and IPv6 addr for usb to ethernet interface
| sudo /sbin/ip6tables -t nat -A POSTROUTING -o wlp2s0 -j MASQUERADE |
|---|
| sudo ip addr add 2001:db8:1111:0:d786:cc43:fe52:26e1/64 dev <interface name of usb-to-ethernet> |
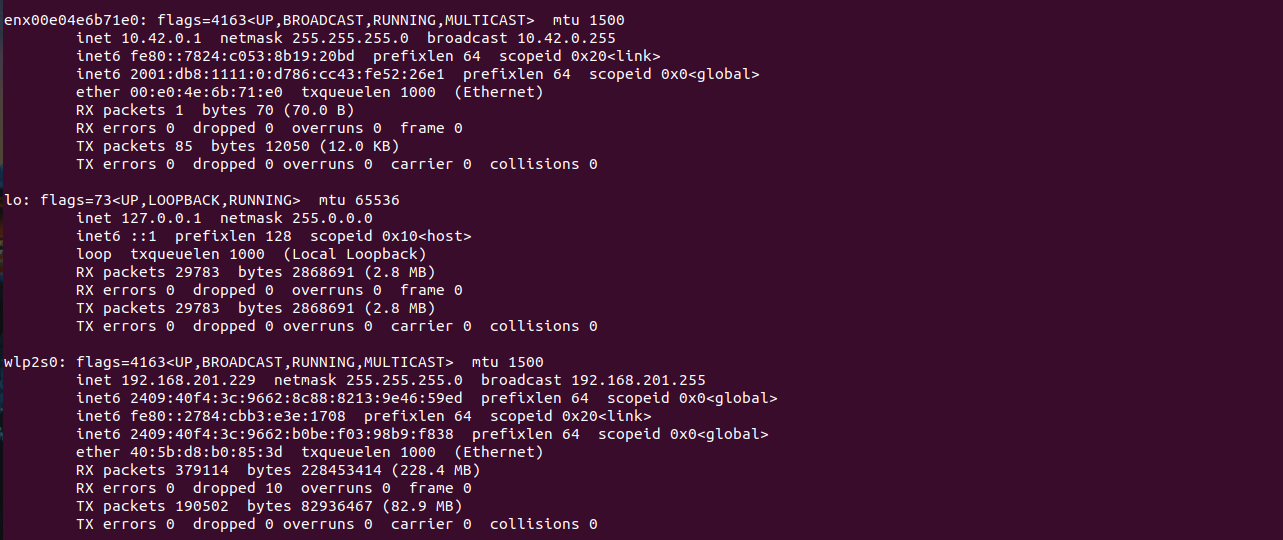
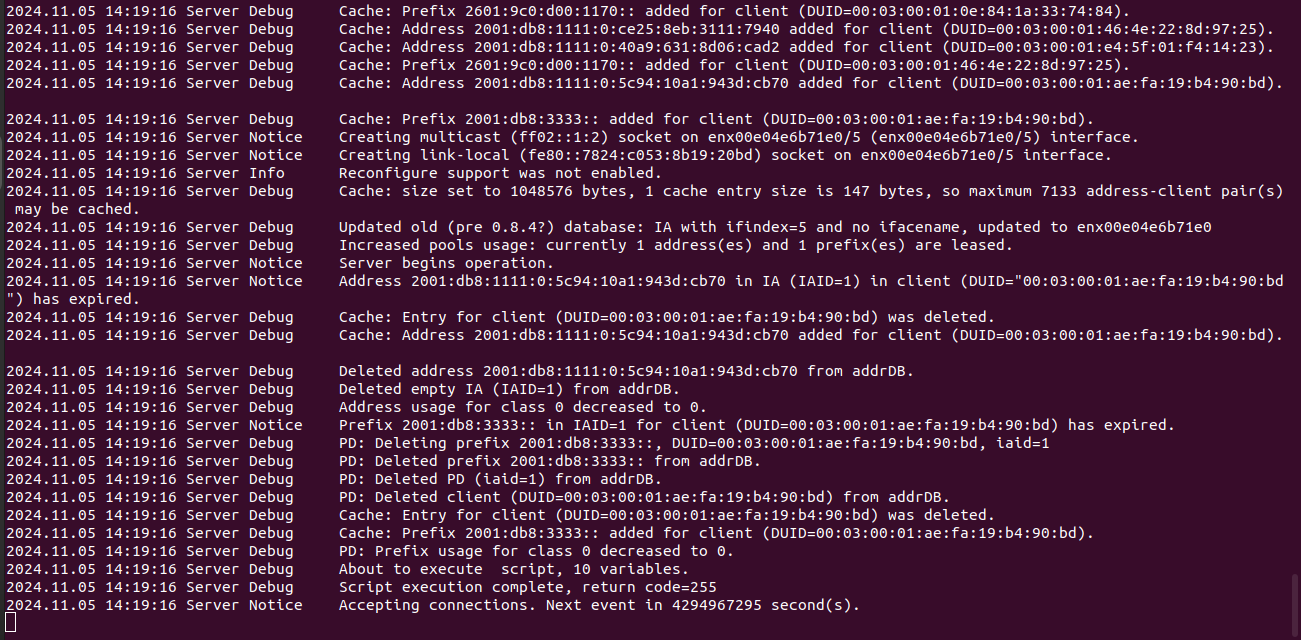
Step 5: Run dibbler-server on host machine, if success, able to see accepting connections.
Connected Clients
Lan Clients
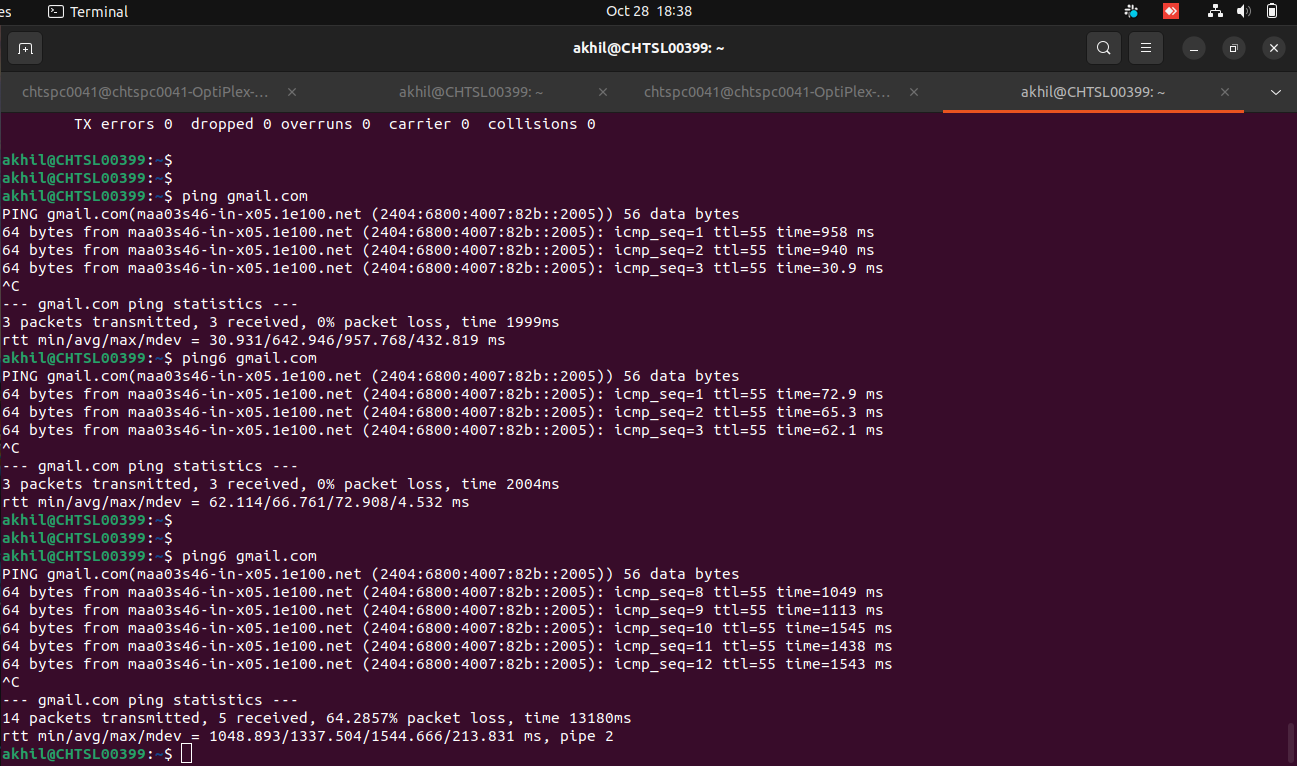
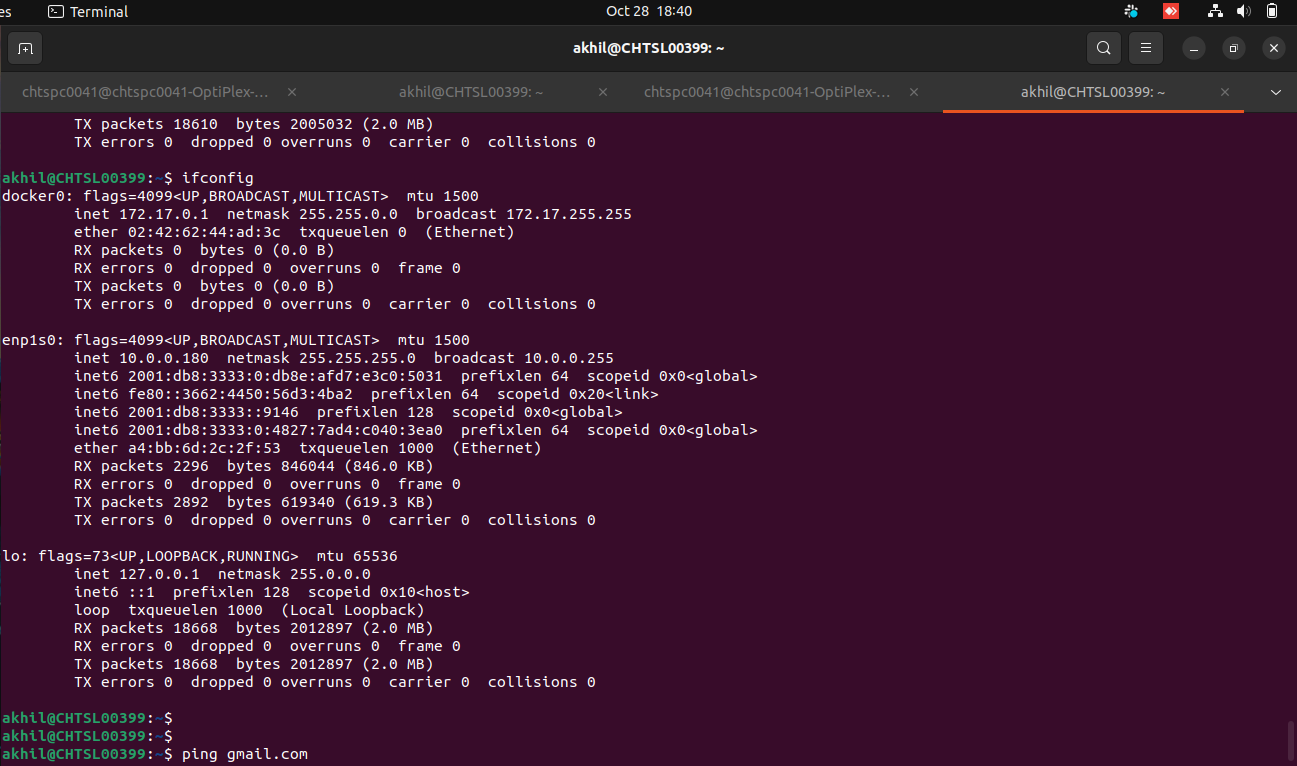
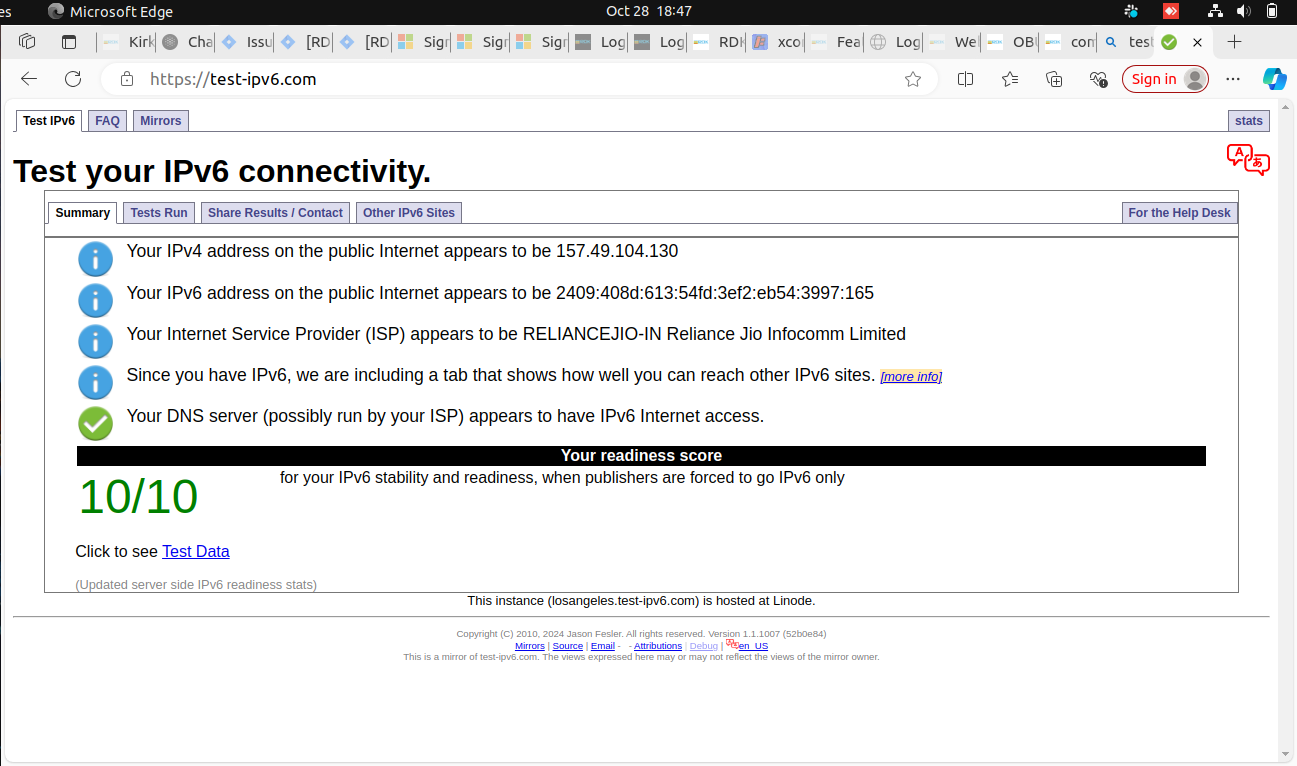
Connected clients got IPv6 addr and able to perform ping6. Test ipv6 (https://test-ipv6.com) from browser passed.
Reference


