RDK Resources
[*RDK Preferred*]
Code Management Facility
RDK Forums
[RDK Conferences]
RDK Support
Archives
Papers & Presentations Archive![]()
Papers & Presentations Archive![]()
RDK video accelerator program aims at reducing the deployment time for set-top boxes and applications. Accelerator devices support advanced features like encrypted content playback, 4K, atmos, etc out of the box. It comes with the latest hardware features, packed with an update-to-date version of SOC SDKs, providing the operators a unique opportunity to introduce the latest features in a short period of time.
This version of the RDK release has a revamped version of the RDK application framework, which provides RDKServices to access all the functionalities provided by the RDK platform. Also, it includes RDKShell, an application manager that handles application lifecycle, input control, and graphics composition.
This release also features the reference user interface, which demonstrates the capabilities of RDKServices.
Accelerator Home UI is a Lightning application that allows users to manage apps, Bluetooth, and WIFI settings
The app boots up with a splash screen. After boot up, a home screen is displayed which allows users to launch apps, manage Bluetooth and WIFI settings, and play video content.
The splash screen contains an RDK Logo icon on top of a video playback

Use S key to display UI Switch screen. Choose the ‘Default’ option to load the Home Screen

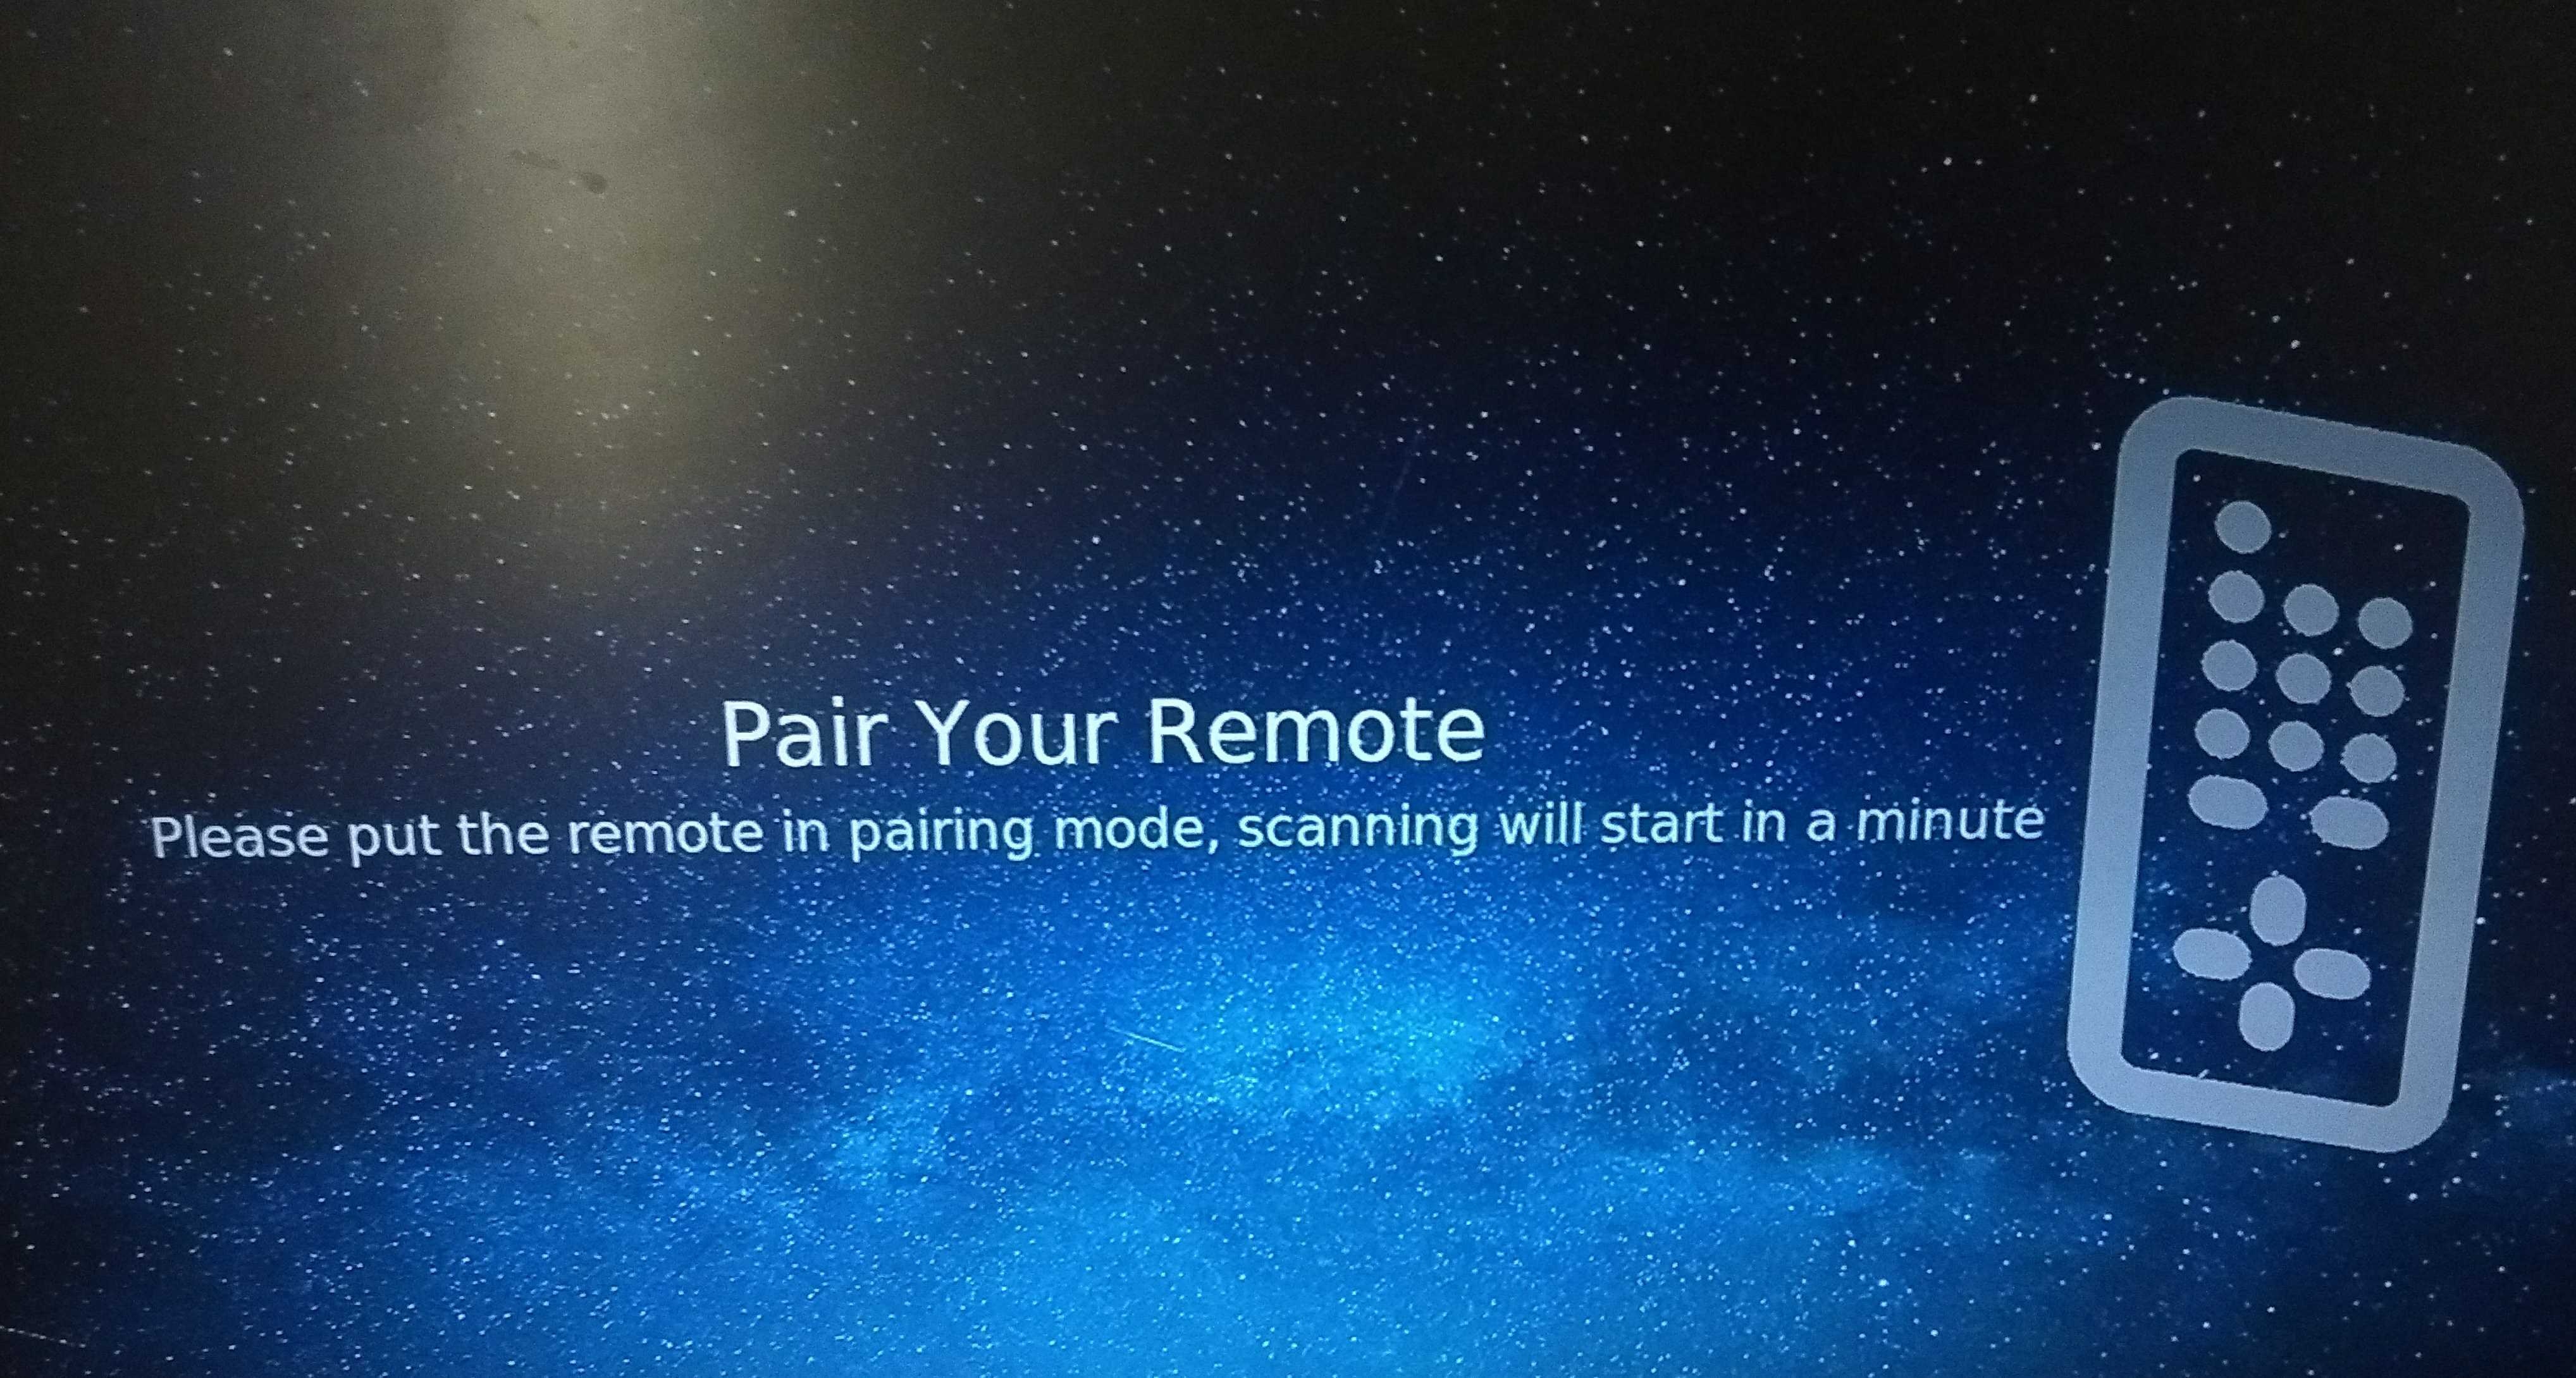
You will be prompted to the below screen if the Bluetooth remote is not connected to the device
The home screen contains sections for apps, tv shows, and settings. YouTube and the metrological app can be launched from app listings. Video content can be played from the TV Shows section. Bluetooth and WIFI settings can be managed from the settings section. Search bar and time display are also available in the home UI. As of now, functionalities with the search bar and mic are not implemented.
Note: The user should set the timezone in you STB before loading the UI using the curl command
curl -X POST -H "Content-Type: application/json" 'http://127.0.0.1:9998/jsonrpc' -d '{"jsonrpc":"2.0","id":"3","method":"org.rdk.System.1.setTimeZoneDST","params":{"timeZone":"Asia/Kolkata"}}';echo
If the timezone is not properly set in the box the UI by default shows Eastern Standard Time.
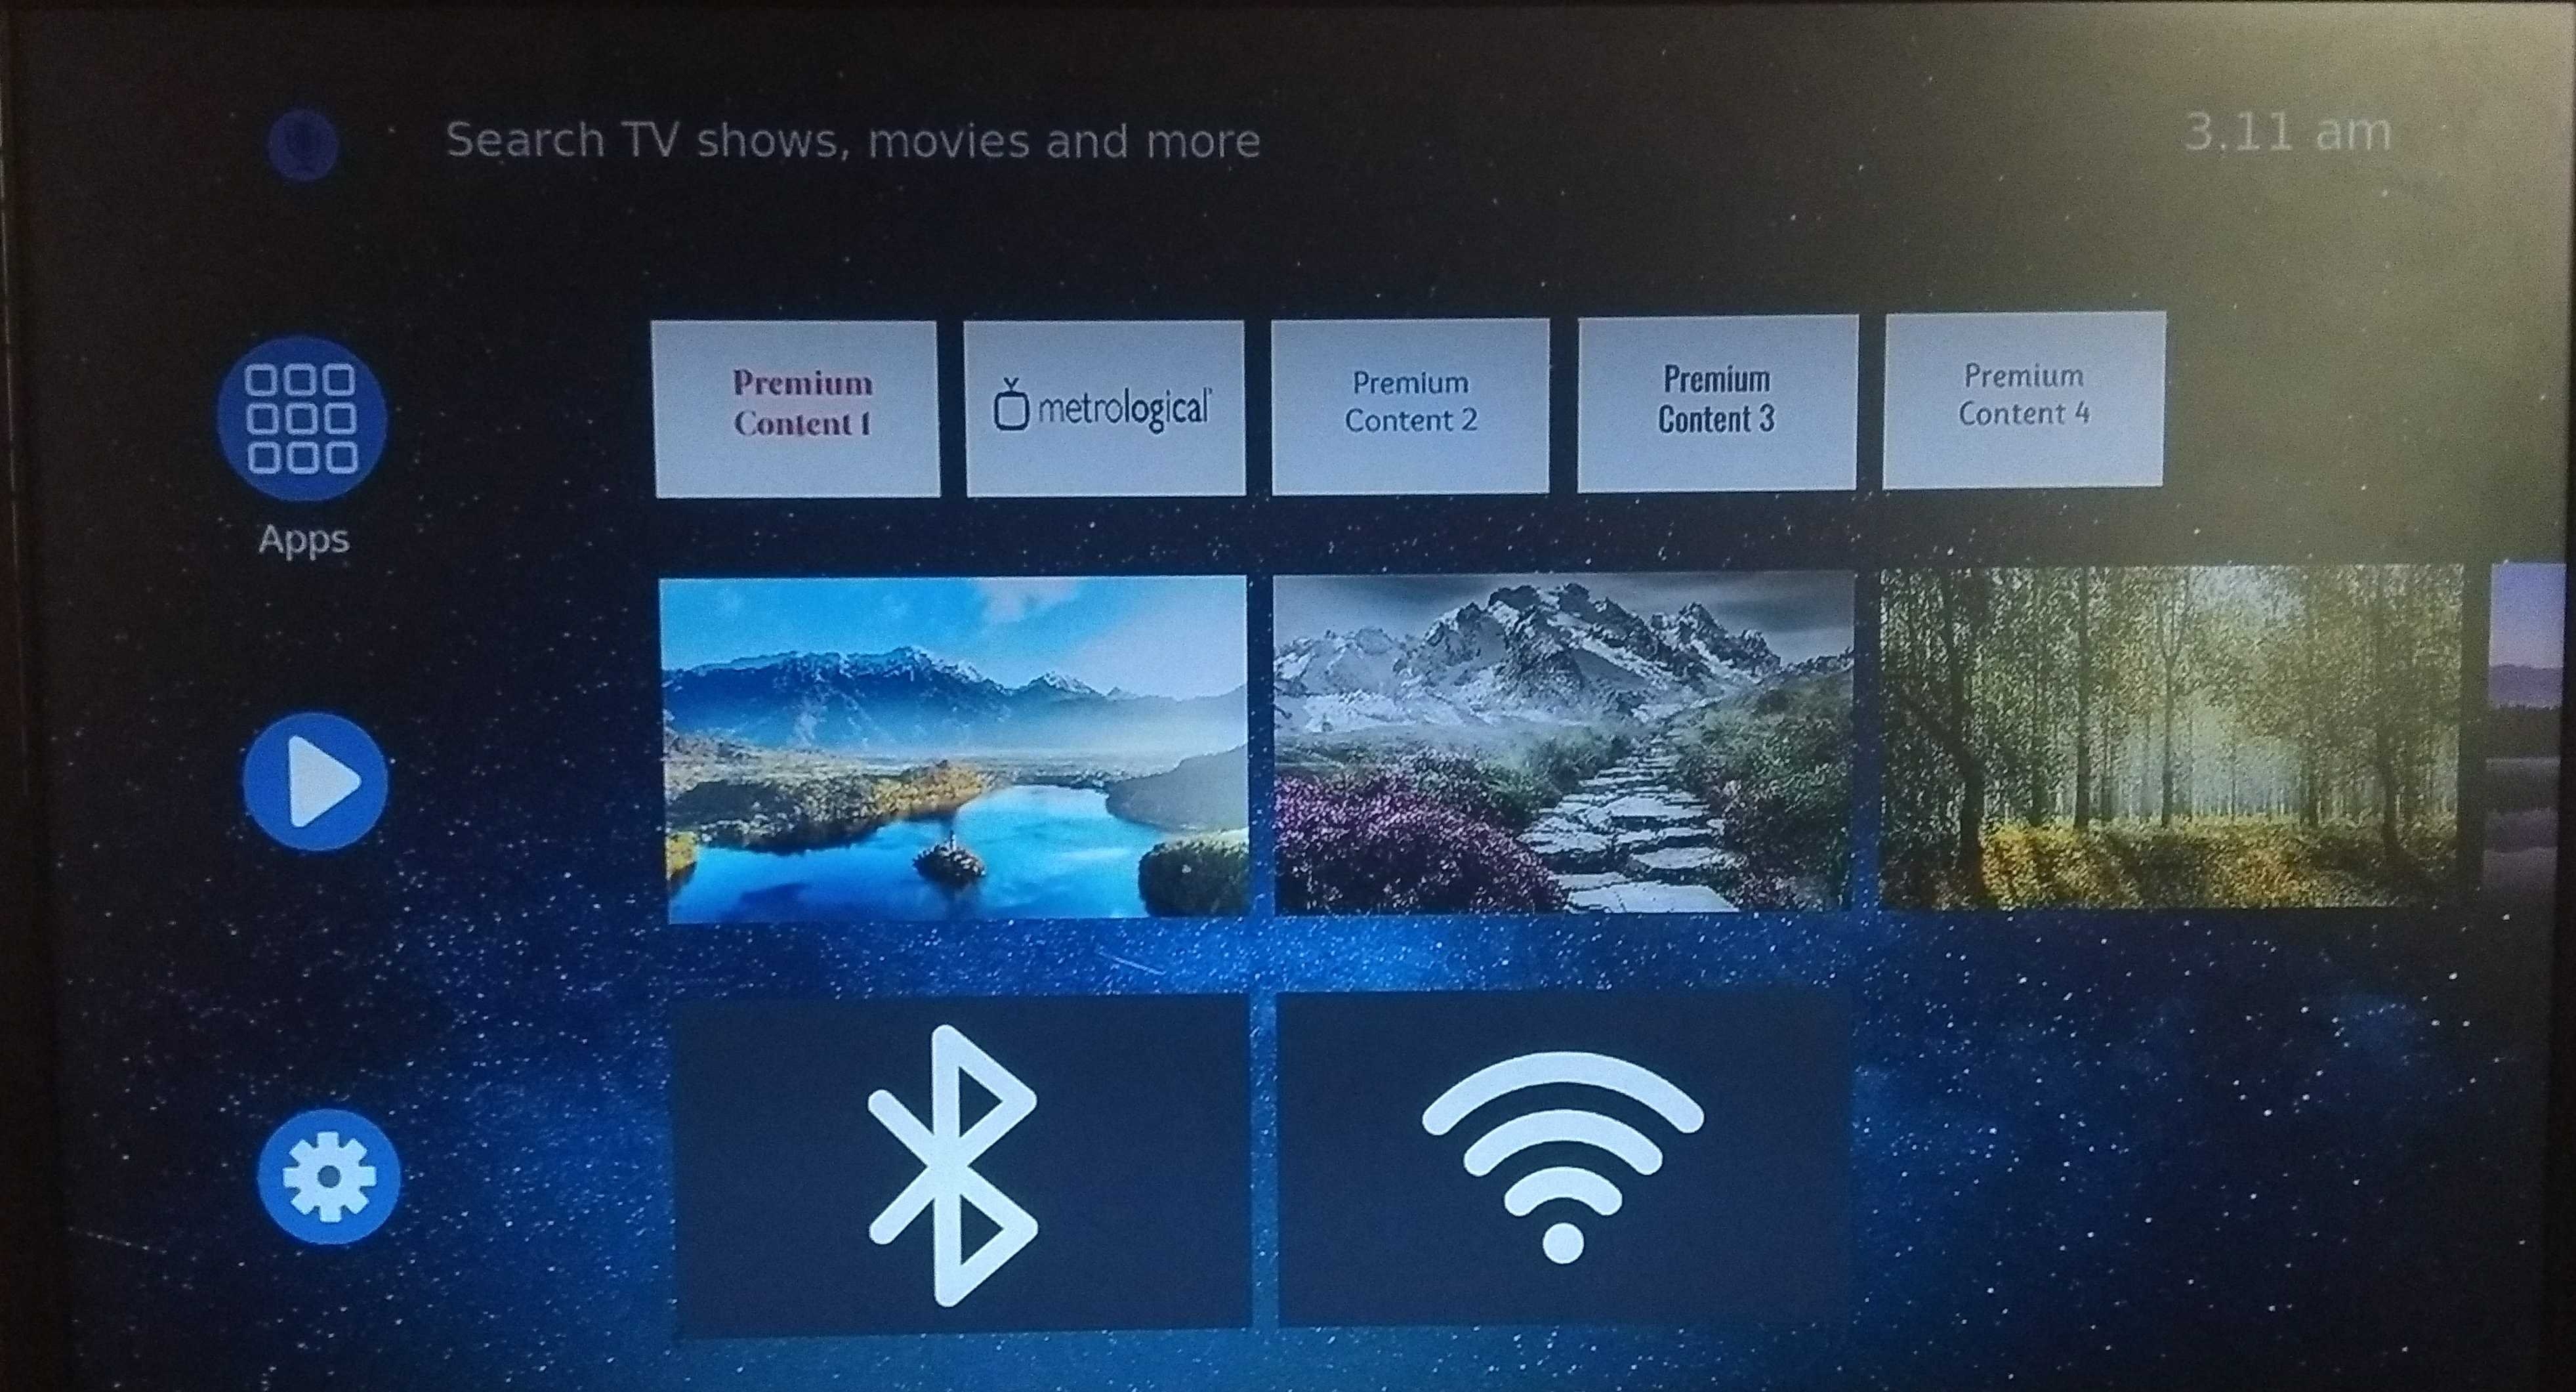
The first row in the main view of home UI contains app listings. YouTube, Metrological, Xumo,, and Bluetooth Audio app can be launched from app listings.'Premium Content 4' will not launch any apps.
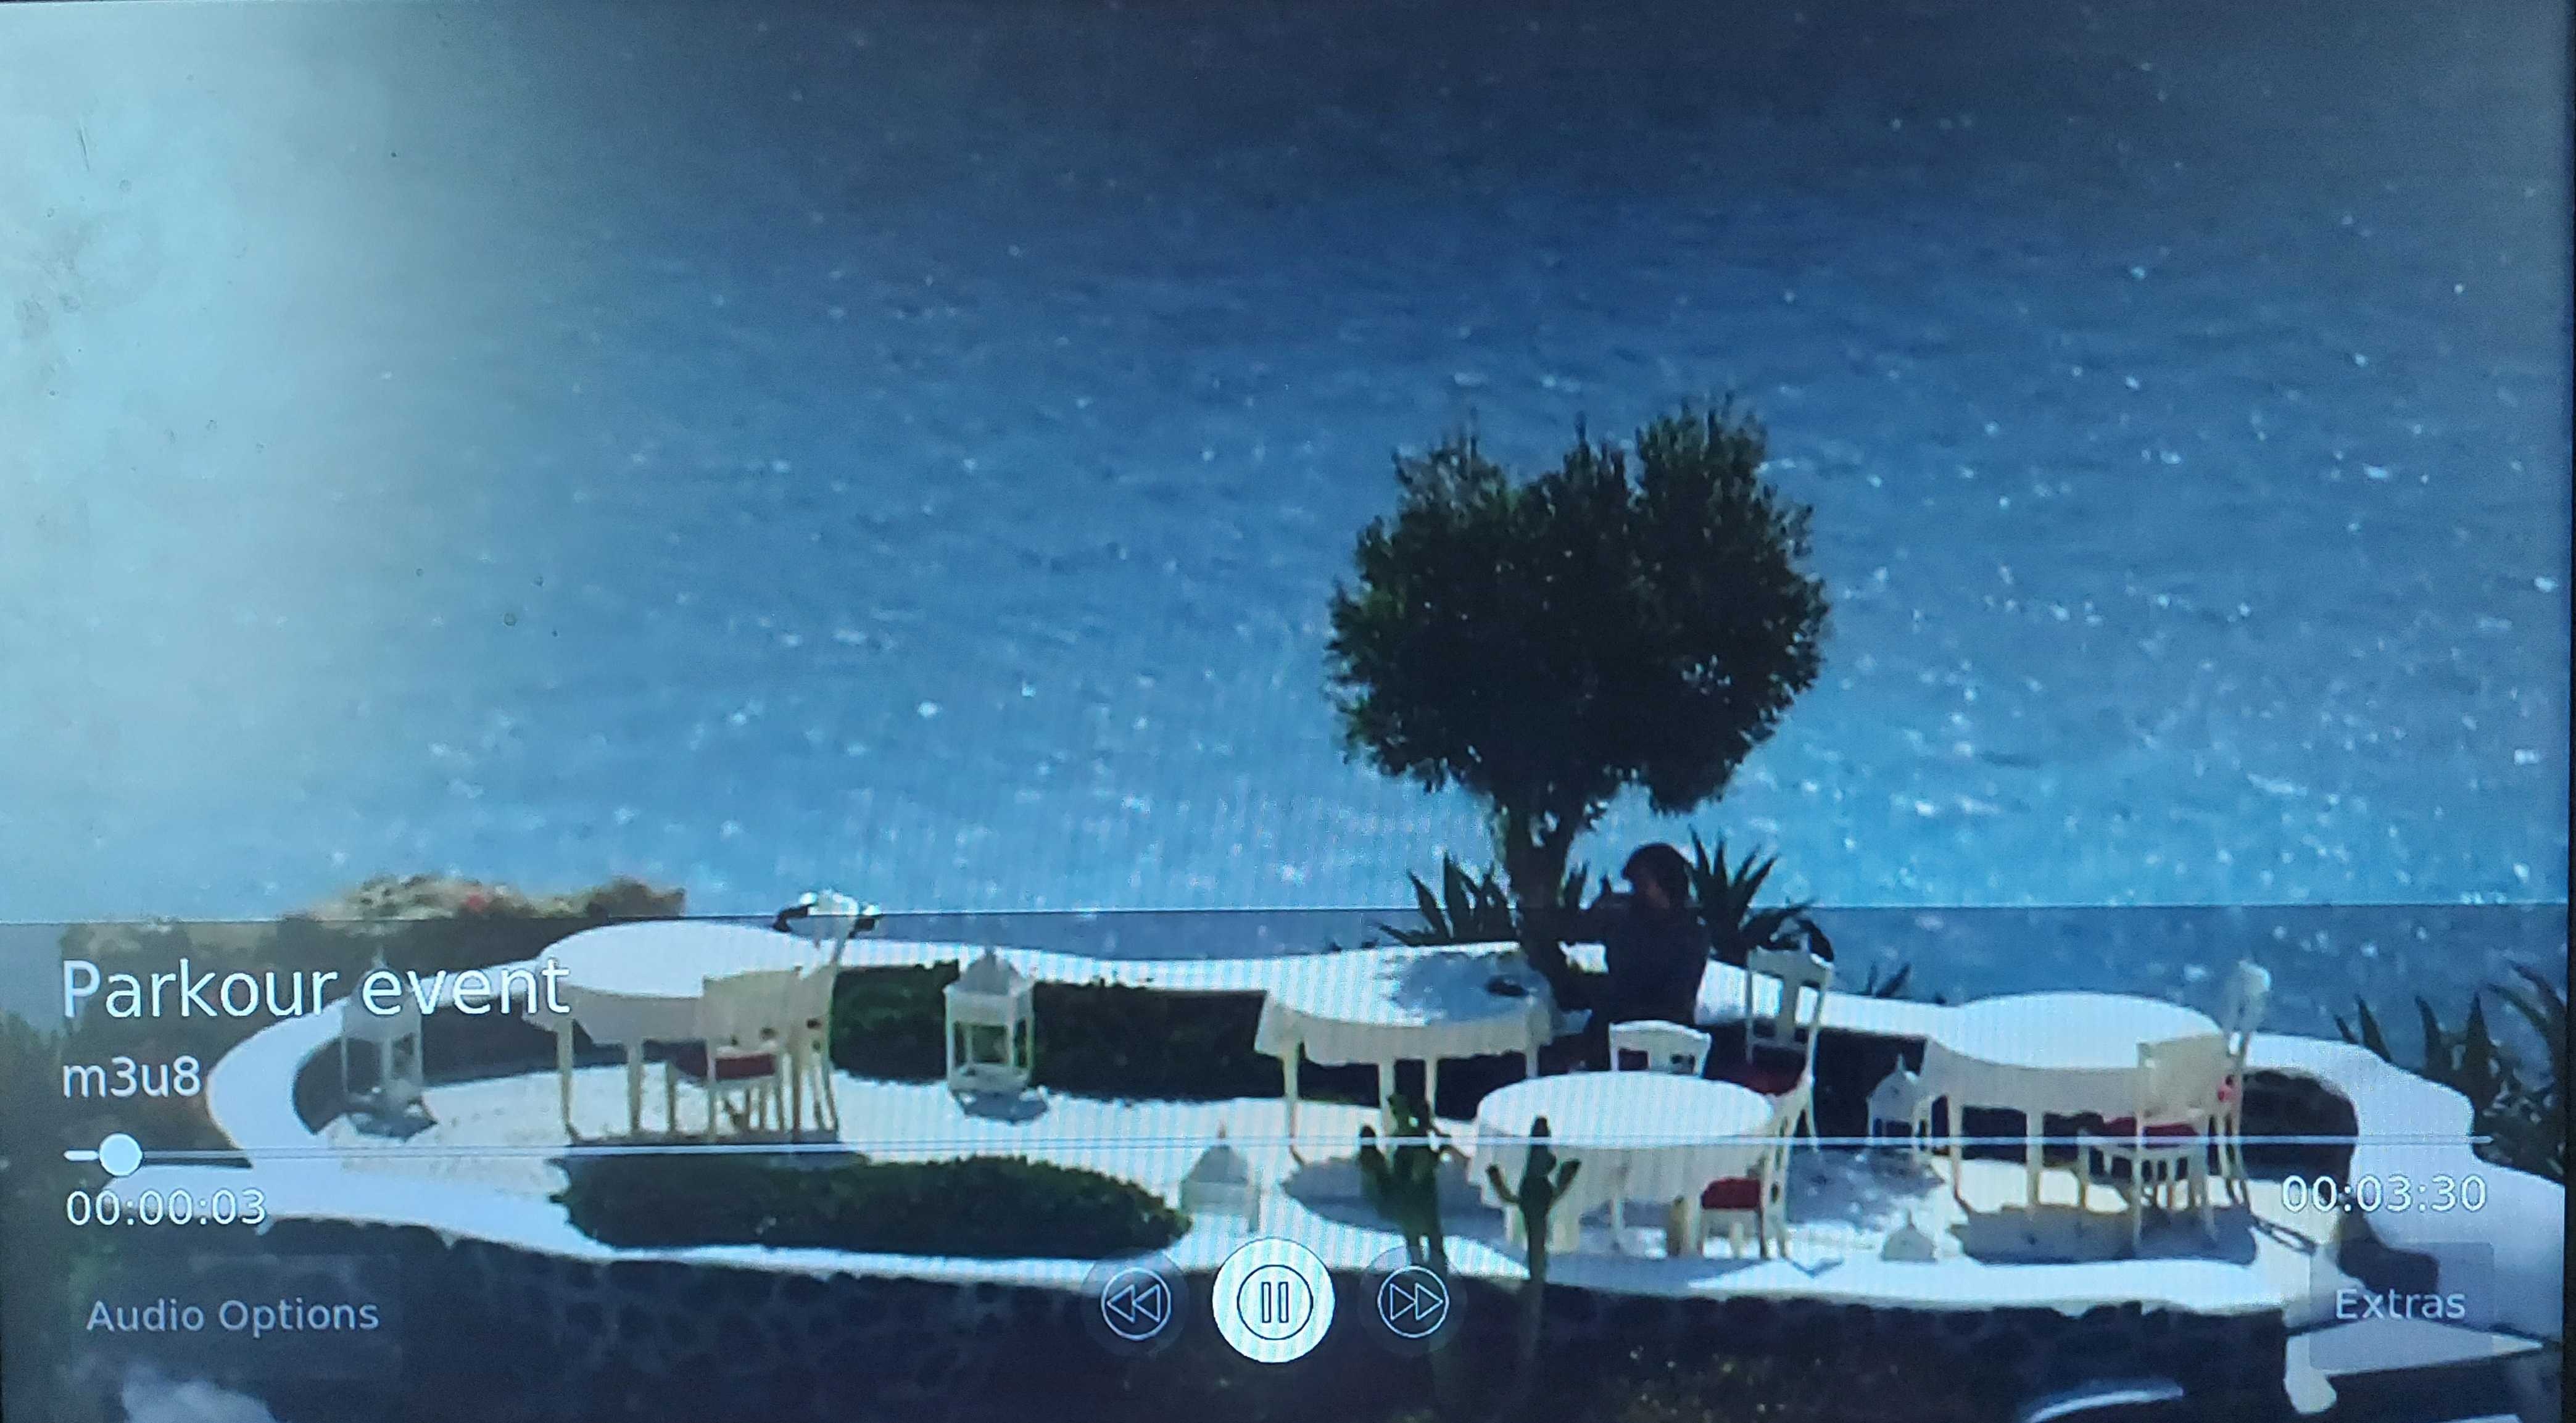
The second row in the main view of home UI contains tv show listings. Video content can be played from the TV Shows section.
The third row in the main view of the home UI contains Bluetooth and WIFI icons. Bluetooth and WIFI screens can be launched from the settings list.
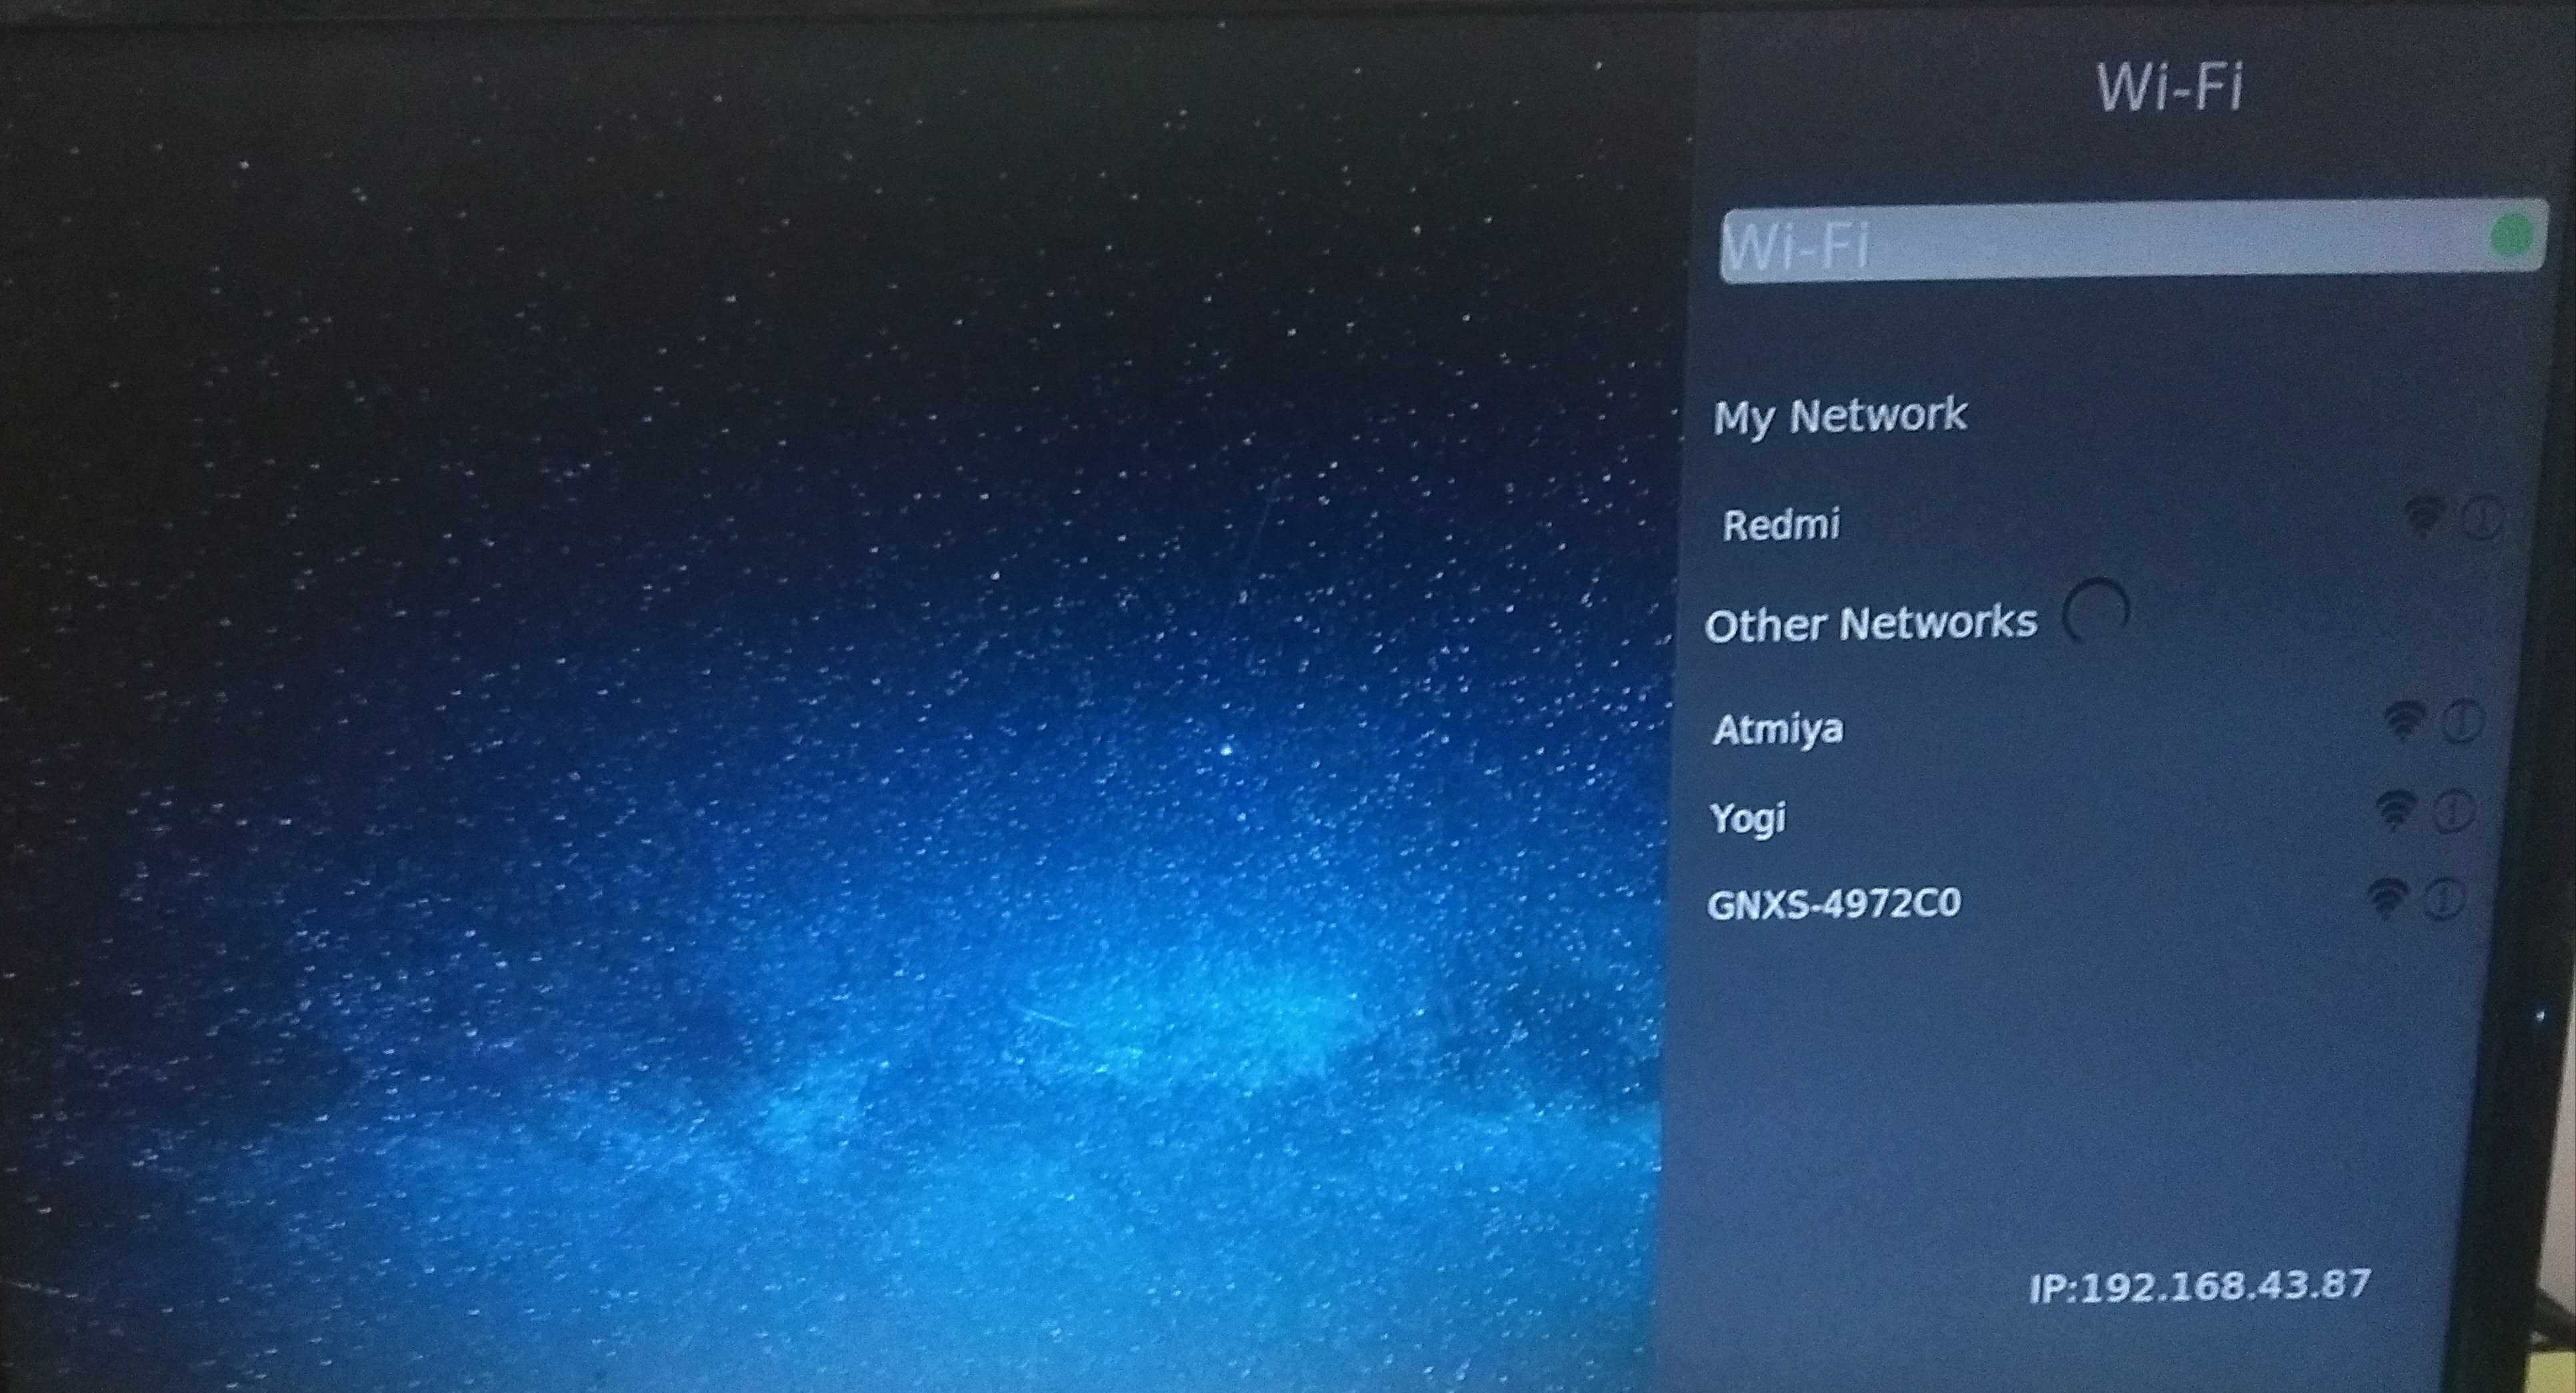
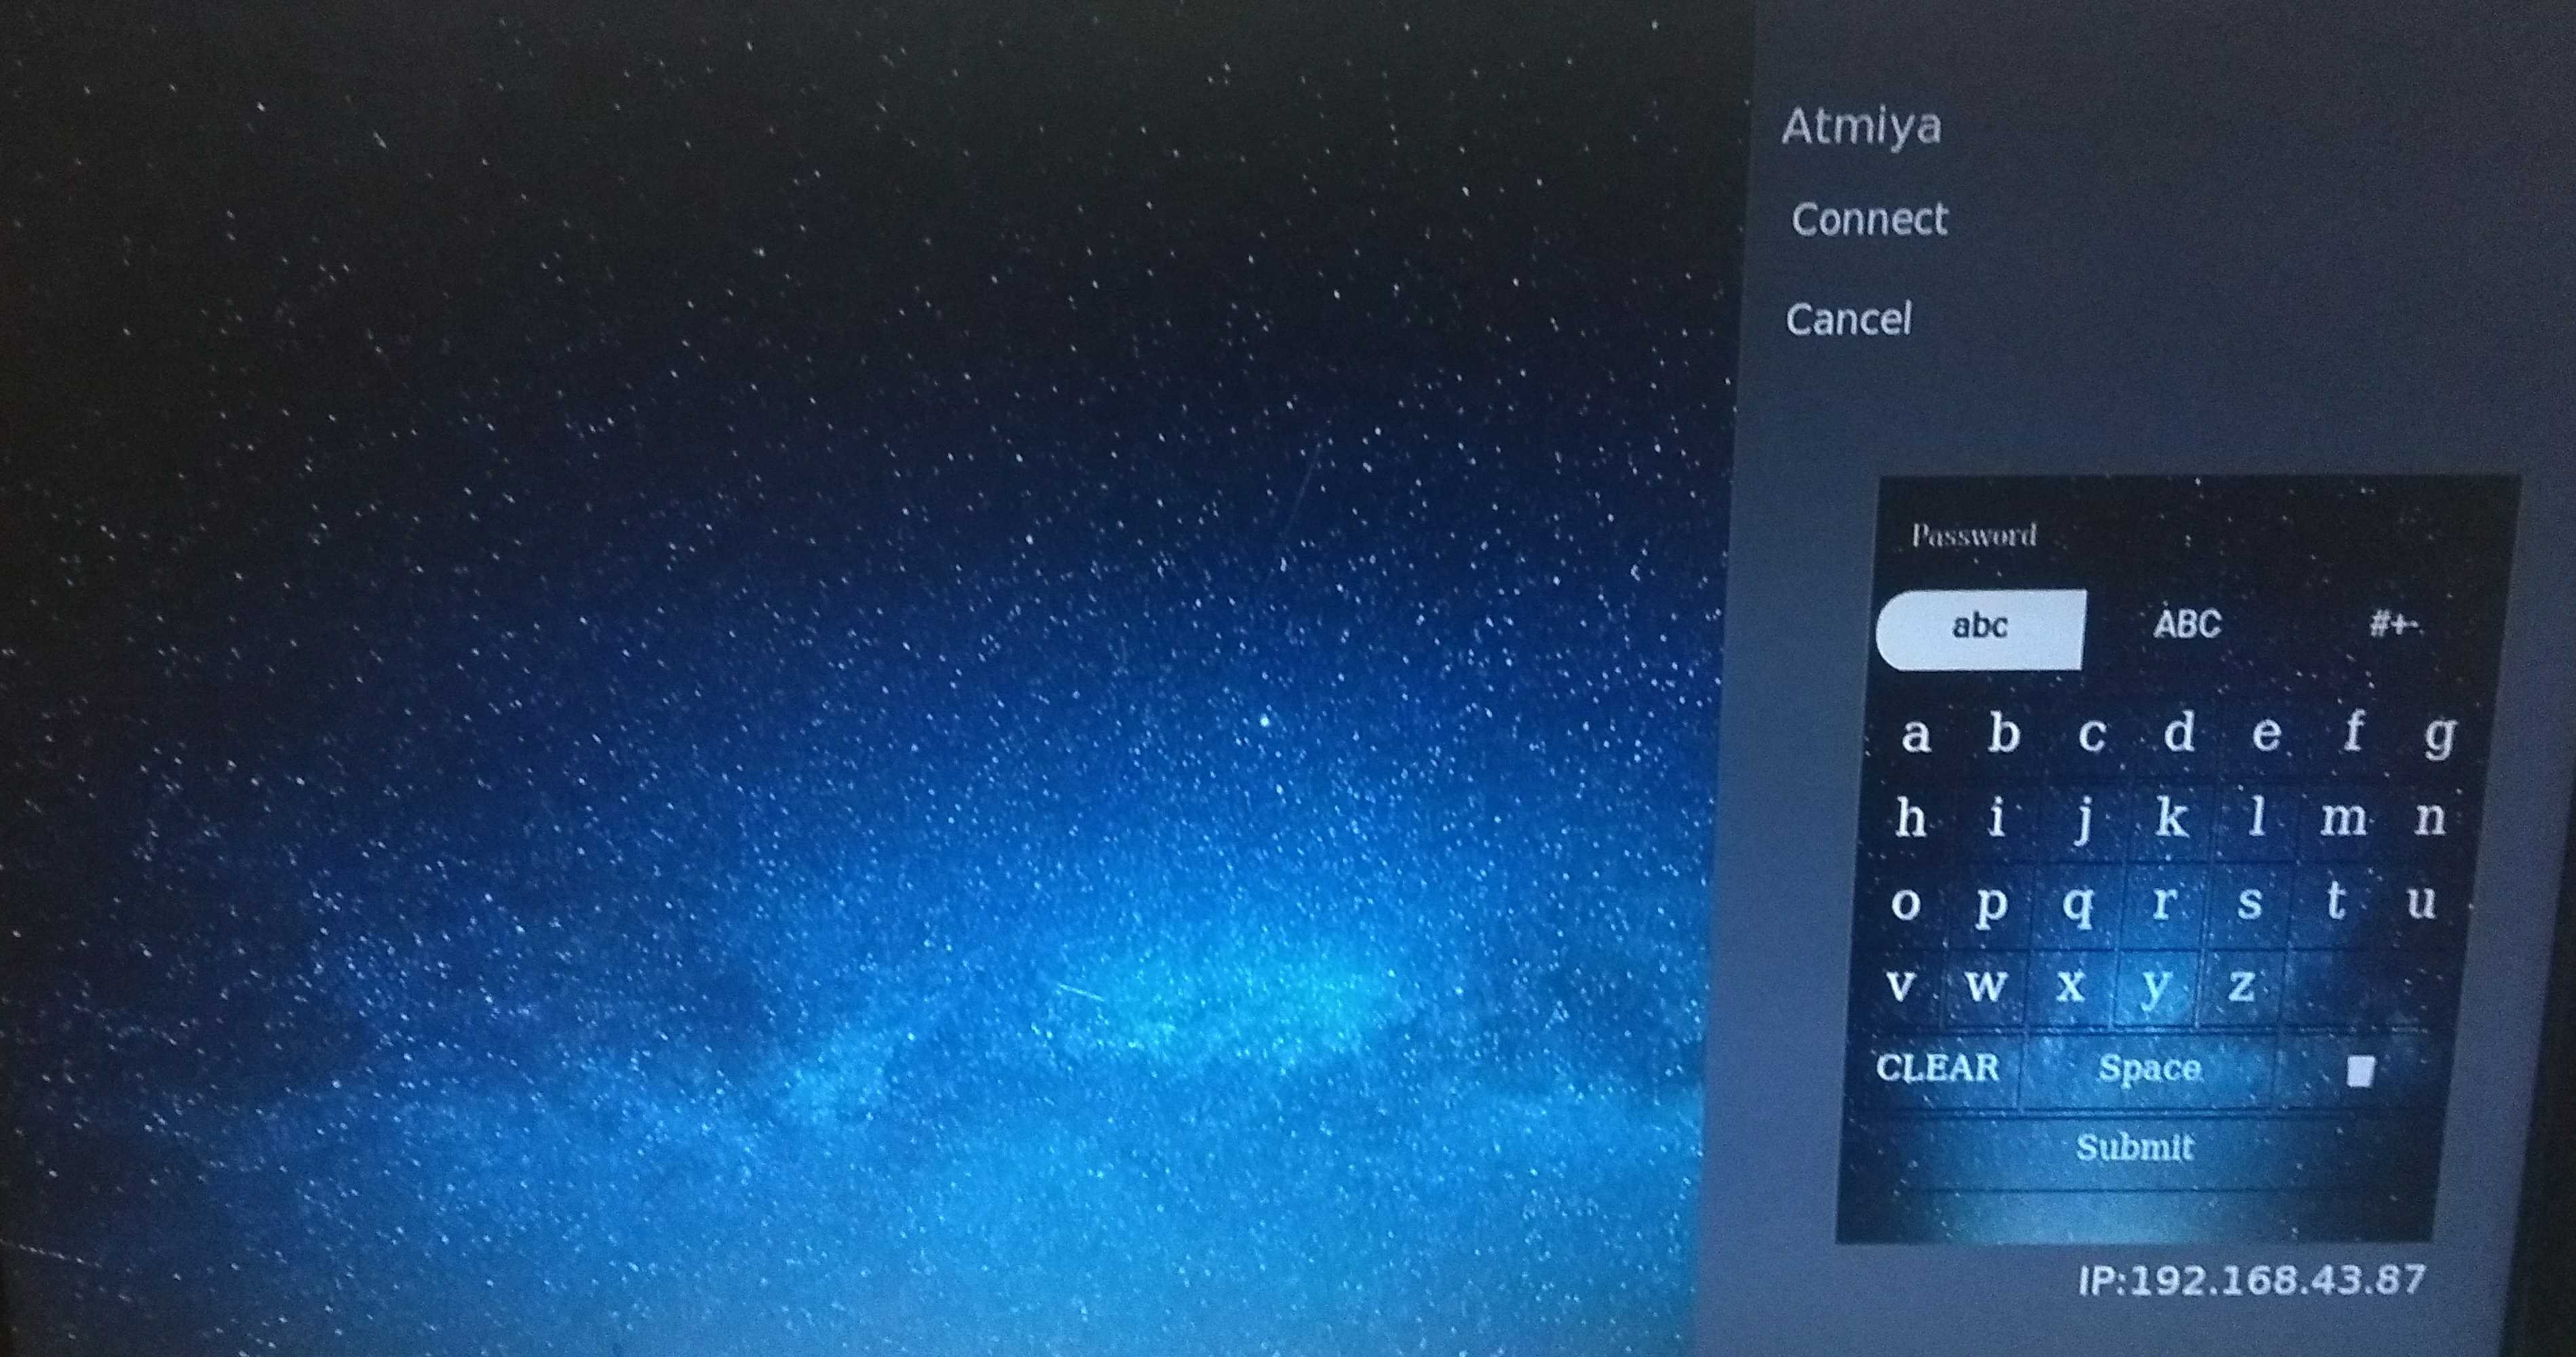
The WIFI screen supports the ability to manage STB's wifi connection.
Note: If we turn on Wi-Fi the default interface is set to Wi-Fi even though the ethernet cable is connected. The terminal won't be accessible in this case.
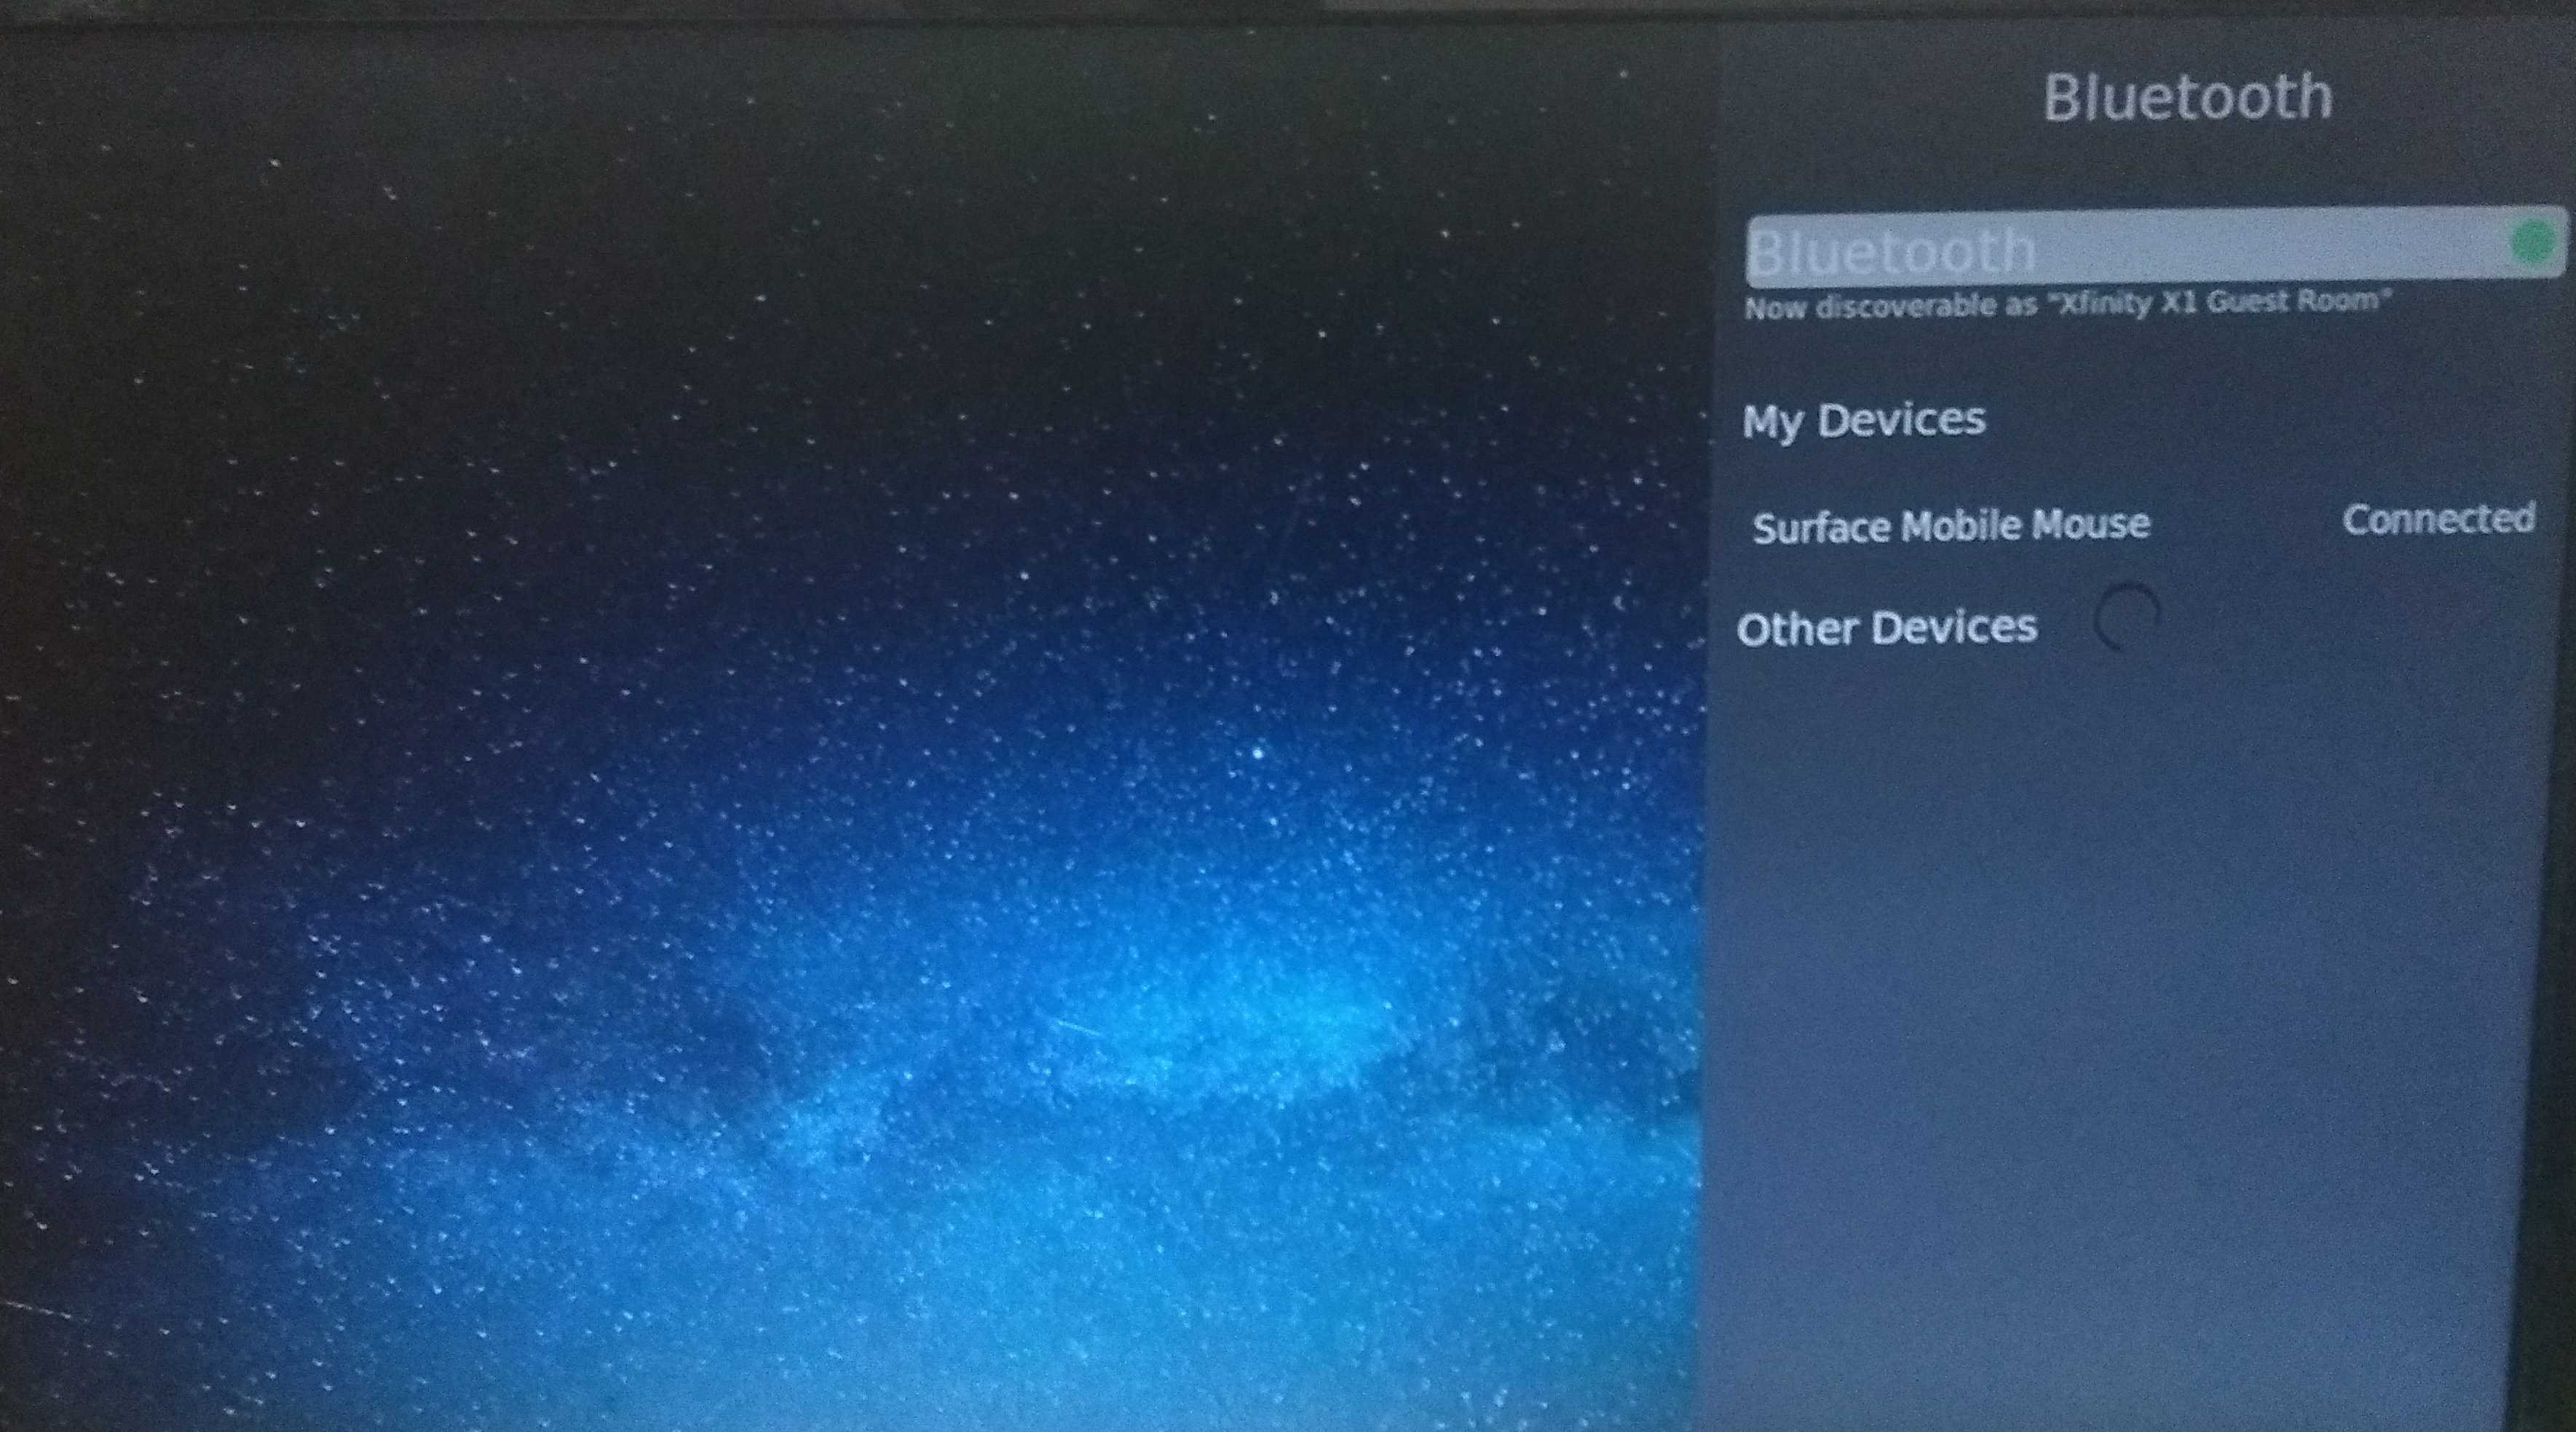
The Bluetooth screen supports discovery, pairing, and connecting to Bluetooth devices.
| Key | Functionality |
|---|---|
| S key | To display UI Switch screen from the splash screen |
| Enter key/Right arrow | To move the focus to app list/tv-shows/settings from side panel icons in Home UI |
| Enter key | To select the UI from the UI Switch screen To launch apps from the app list To launch player from tv-shows To launch the Bluetooth screen from the settings list To launch the WiFi screen from the settings list To enable/disable Bluetooth scanning in Bluetooth screen To enable/disable wifi scanning in wifi screen To pause player from Player controls To connect/disconnect/pair/unpair a Bluetooth device from the Bluetooth screen To connect/disconnect a WiFi network inWiFi screen |
| Left/Right/Up/Down arrow | To navigate within Home UI To navigate through available Bluetooth devices on the Bluetooth screen To navigate through available wifi networks in WiFi screen |
| M/Home/1 key | To exit from apps To exit from player launched To exit from the Bluetooth screen To exit from the WiFi screen |
| Esc/M key | To exit from password panel on WiFi screen |
| Down arrow | To display player controls menu from Player screen |
| key Code : 27 , 77, 49 , 36 ,158 | To display Home Page |
| key Code : 112,142 | To STANDBY and POWER_ON |
| key Code : 228 , 116 | To deep sleep |
| key Code 175 174 | To audio increase and decrease |
Note:1. Make a folder(partnerapps) in USB, add appmanagerregistry.conf as below
Sample conf file
{"applications": [ { "displayName" : "TV Settings", "uri" : "https://rdkwiki.com/rdk-apps/BouncingBall/index.html", "applicationType" : "Lightning", "url" : "/usb/images/bg1.png" }, { "displayName" : "RDK Guide", "uri" : "https://rdkwiki.com/rdk-apps/BouncingBall/index.html", "applicationType" : "Lightning", "url" : "/usb/images/RDKtile.png" } ] } |
|---|
User can update the apps list by specifying the config file in `/opt/appmanagerregistry.conf`
User can update the resident app by specifying a startup app in `/opt/startupApp.conf`
Note: Right now it supports only Lightning apps as startup app.
-To install Node.js and npm - https://nodejs.org/en/download/
-To install Lightning CLI - npm install -g @lightningjs/cli
git clone "https://code.rdkcentral.com/r/components/opensource/RDK_apps"
cd RDK_apps/accelerator-home-ui/
npm install
lng build
curl -X POST -H "Content-Type: application/json" 'http://127.0.0.1:9998/jsonrpc' -d ' {"jsonrpc":"2.0", "id":3, "method":"org.rdk.RDKShell.1.launch", "params":{"callsign": "ResidentApp", "type":"ResidentApp", "uri": "http://127.0.0.1:50050/build/index.html#splash"}} ' ; echo
Note: You can also deploy your app locally in your PC and launch the app using ResidentApp plugin in RPI/Accelerator device .But your PC(where app is deployed) and the RPI/Accelerator device has to be under same network
lng dev
curl -X POST -H "Content-Type: application/json" 'http://127.0.0.1:9998/jsonrpc' -d ' {"jsonrpc":"2.0", "id":3, "method":"org.rdk.RDKShell.1.launch", "params":{"callsign": "ResidentApp", "type":"ResidentApp", "uri": "https://rdkwiki.com/rdk-apps/accelerator-home-ui/index.html#splash"}} ' ; echo
Note: The user should set the timezone in you STB before loading the UI using the curl command
curl -X POST -H "Content-Type: application/json" 'http://127.0.0.1:9998/jsonrpc' -d '{"jsonrpc":"2.0","id":"3","method":"org.rdk.System.1.setTimeZoneDST","params":{"timeZone":"Asia/Kolkata"}}';echo
If the timezone is not properly set in the box the UI by default shows Eastern Standard Time.
Users can interact with plugins using Controller UI. It helps the user to activate or deactivate the plugin and the user can go through each plugin and look for properties and methods to execute.
Launching controller UI
BOXIP:9998

Interactions with ResidentApp plugin

User can also interact with plugins using JSON-RPC
Activate plugin:
curl -X POST -H "Content-Type: application/json" 'http://127.0.0.1:9998/jsonrpc' -d '{"jsonrpc": "2.0","id": 4,"method": "Controller.1.activate", "params": { "callsign": "$callSign" }}' ; echo
Calling Methods:
curl -X POST -H "Content-Type: application/json" 'http://127.0.0.1:9998/jsonrpc' -d '{"jsonrpc": "2.0","id": 4,"method": "$callSign.1.Method"}' ; echo
Example:
root@vip5202w:~# curl -X POST -H "Content-Type: application/json" 'http://127.0.0.1:9998/jsonrpc' -d '{"jsonrpc": "2.0","id": 4,"method": "Controller.1.activate", "params": { "callsign": "org.rdk.System" }}' ; echo
{"jsonrpc":"2.0","id":4,"result":null}
root@vip5202w:~# curl -X POST -H "Content-Type: application/json" 'http://127.0.0.1:9998/jsonrpc' -d '{"jsonrpc":"2.0","id":"3","method":"org.rdk.System.1.setTimeZoneDST","params":{"param":{ "timeZone":"America/New_York"}}}' ; echo
{"jsonrpc":"2.0","id":3,"result":{"success":true}}
root@vip5202w:~# curl -X POST -H "Content-Type: application/json" 'http://127.0.0.1:9998/jsonrpc' -d '{"jsonrpc": "2.0","id": 4,"method": "org.rdk.System.1.getTimeZoneDST"}' ; echo
{"jsonrpc":"2.0","id":4,"result":{"timeZone":"America/New_York","success":true}}

1 Comment
Bharath Shanmugasundaram
Shall we run the exercise in window ?