RDK Resources
[*RDK Preferred*]
Code Management Facility
RDK Forums
[RDK Conferences]
RDK Support
Archives
Papers & Presentations Archive![]()
Papers & Presentations Archive![]()
WebRTC (Web Real-Time Communication) is a technology that enables Web applications and sites to capture and optionally stream audio and/or video media, as well as to exchange arbitrary data between browsers without requiring an intermediary. The set of standards that comprise WebRTC makes it possible to share data and perform teleconferencing peer-to-peer, without requiring that the user install plug-ins or any other third-party software.
Refer below link to build camera image
RDK-C rdk-next Yocto 3.1 dunfell build for Raspberrypi
STEP 1:
Below command is cloning the openwebrtc source into current PC.
git clone https://github.com/rdkcteam/openwebrtc-m72.git
| Console output |
|---|
user@BLTSLRM110:~/Desktop$ git clone https://github.com/rdkcteam/openwebrtc-m72.git Cloning into 'openwebrtc-m72'... remote: Enumerating objects: 248119, done. remote: Counting objects: 100% (7886/7886), done. remote: Compressing objects: 100% (4130/4130), done. Receiving objects: 100% (248119/248119), 1.15 GiB | 1.67 MiB/s, done. remote: Total 248119 (delta 3500), reused 7844 (delta 3468), pack-reused 240233 Resolving deltas: 100% (67555/67555), done. Updating files: 100% (259872/259872), done. |
STEP 2:
Goto openwebrtc-m72 folder and give below export command.
export PATH=$PATH:/home/user/Desktop/openwebrtc-m72/buildtools/linux64/
| Console output |
|---|
user@BLTSLRM110:~/Desktop$ cd openwebrtc-m72/ user@BLTSLRM110:~/Desktop/openwebrtc-m72$ export PATH=$PATH:/home/user/Desktop/openwebrtc-m72/buildtools/linux64/ |
STEP 3:
Run the below command.
gn gen out/Default --args='rtc_use_h264=true is_component_ffmpeg=true rtc_libvpx_build_vp9=false rtc_use_gtk=false rtc_include_tests=false'
| Console output |
|---|
user@BLTSLRM110:~/Desktop/openwebrtc-m72$ gn gen out/Default --args='rtc_use_h264=true is_component_ffmpeg=true rtc_libvpx_build_vp9=false rtc_use_gtk=false rtc_include_tests=false' Done. Made 651 targets from 185 files in 322ms |
STEP 4:
Run the below command.
ninja -C out/Default
Completion of above command all the binaries are generated into out/Default folder inside.
Follwing steps are run into Desktop PC(X86) Side:
STEP 1 , STEP 2, STEP 3, STEP 5 , STEP 6, STEP 7.
Follwing step are run into RPI Board Side:
STEP 4
STEP 1:
Run the peerconnection_server binary located at (openwebrtc-m72/out/Default).
./peerconnection_server
| Console output |
|---|
user@BLTSLRM110:~/Desktop/openwebrtc-m72/out/Default$ ./peerconnection_server Server listening on port 8888 |
STEP 2:
Open new terminal Goto openwebrtc-m72/out/Defaultpathand path, run the below two commands one by one.
export LD_LIBRARY_PATH=$LD_LIBRARY_PATH:$(pwd)
./peerconnection_client
Refer the below peerconnection_client GTK window.
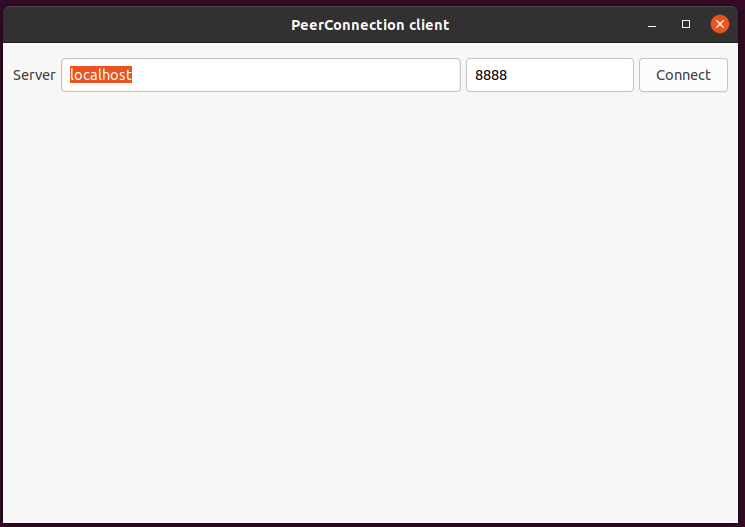
STEP 3:
Provide IP address of server pc and press connect button.
Refer the below peerconnection_client GTK window.
STEP 4:
Stop below service before runing the peerconnection_client binary.
systemctl stop rms-launcher
systemctl stop mst-launcher
Run the peerconnection_client binary into RPI board side and Enter server PC IP address, port numner.
peerconnection_client
| Console output |
|---|
| root@raspberrypi3-rdk-camera:~# peerconnection_client Inside constructor CustomSocketServer()..... Initialized thread... "Registering PeerConnectionClient::RegisterObserver()" Enter server IP Address 192.168.0.126 Enter port number 8888 |
STEP 5:
Need to Check whether the peerconnection_server side both clients are connected are not.
| Console output |
|---|
user@BLTSLRM110:~/Desktop/openwebrtc-m72/out/Default$ ./peerconnection_server Server listening on port 8888 New connection... New member added (total=1): zaid@zaid-ahmad Disconnecting socket Total connected: 1 New connection... New connection... New member added (total=2): user@raspberrypi3-rdk-camera Disconnecting socket Total connected: 2 New connection... Disconnecting socket Total connected: 2 New connection... |
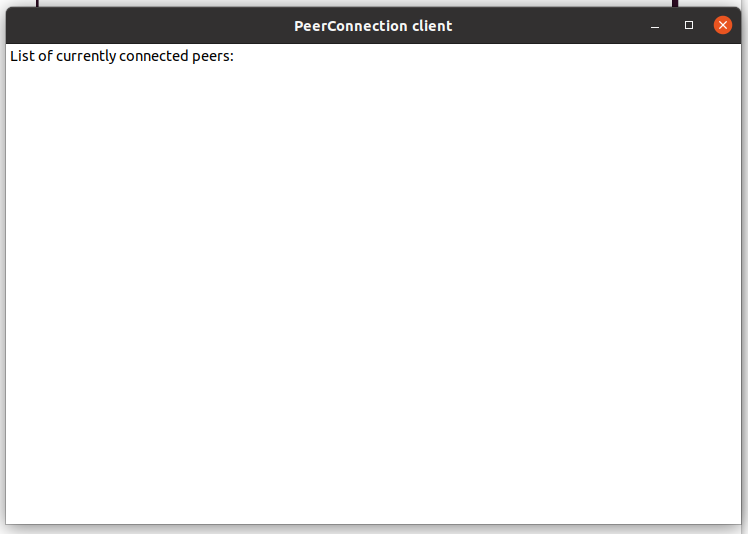
STEP 6:
PC side peerconnection_client GTK window shows the number of peers client devices are connected list.
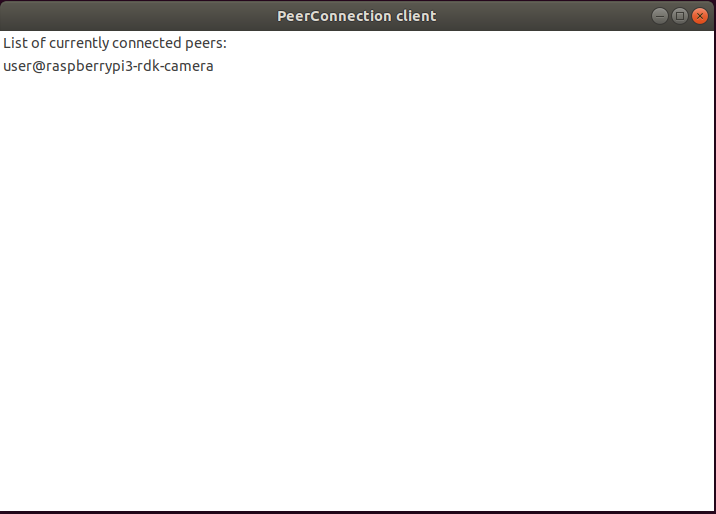
STEP 7:
Double click user@rasspberrypi3-rdk-camera from the listed peer connected devices.

